
Secrets to Crispy Pork Belly Skin. Every. Single. Time.
There is an updated, more comprehensive version of this recipe on the blog! You can find it here: The Ultimate Guide to Perfect Siu Yuk
Crispy Pork Belly Skin. Let me say that again. Crispy. Pork. Belly. Skin.
If you can’t already tell, I’m a sucker for shao rou/siu yok (燒肉), that’s Chinese Roast Pork Belly. It’s the holy grail of pork belly dishes, in my books at least. So move aside, Sunday roasts and Italian porchettas, this glorious Chinese pork belly takes the cake everytime.
It might not seem like a difficult task to get perfectly crisp crackling on a piece of pork belly. After all, you can find perfectly good shao rou at most neighbourhood Chinese coffee shop in Malaysia. Those coffee shop uncles and aunties might have got their recipes down pat, but for a (Chinese) home cook, making a great shao rou is the ultimate accomplishment – get it right and you’ll be forever immortalised in your friends’ and family’s memories as the home cook they know (and secretly want to be), get it wrong and you’d rather cancel that dinner party you painstakingly planned than face the public scrutiny of your sub-par shao rou.
My mom fortunately falls in the former, but it did take her some time to get to a surefire shao rou recipe. After so many mediocre attempts (some with vinegar-soaked skin, others with skin poked to death), she finally found this foolproof method, which isn’t intuitive at all but works like a charm every time. It does away with the tedious task of scoring the skin/poking holes in the skin, which, contrary to popular belief isn't always a guarantee for crispy skin. Here’s the secret:
Don’t season the skin
It’s important to season meat before cooking, whether it’s through a brine, marinade, dry rub, or by any other means. Usually when seasoning, we’d season all sides of the meat evenly. In this case however, since we’re trying to reduce the amount of moisture on the skin (moisture makes it difficult for the skin to crisp up), it helps to leave the skin seasoning-free. Even using a dry rub would wick up moisture onto the surface of the skin, which you’ll then have to dry again.
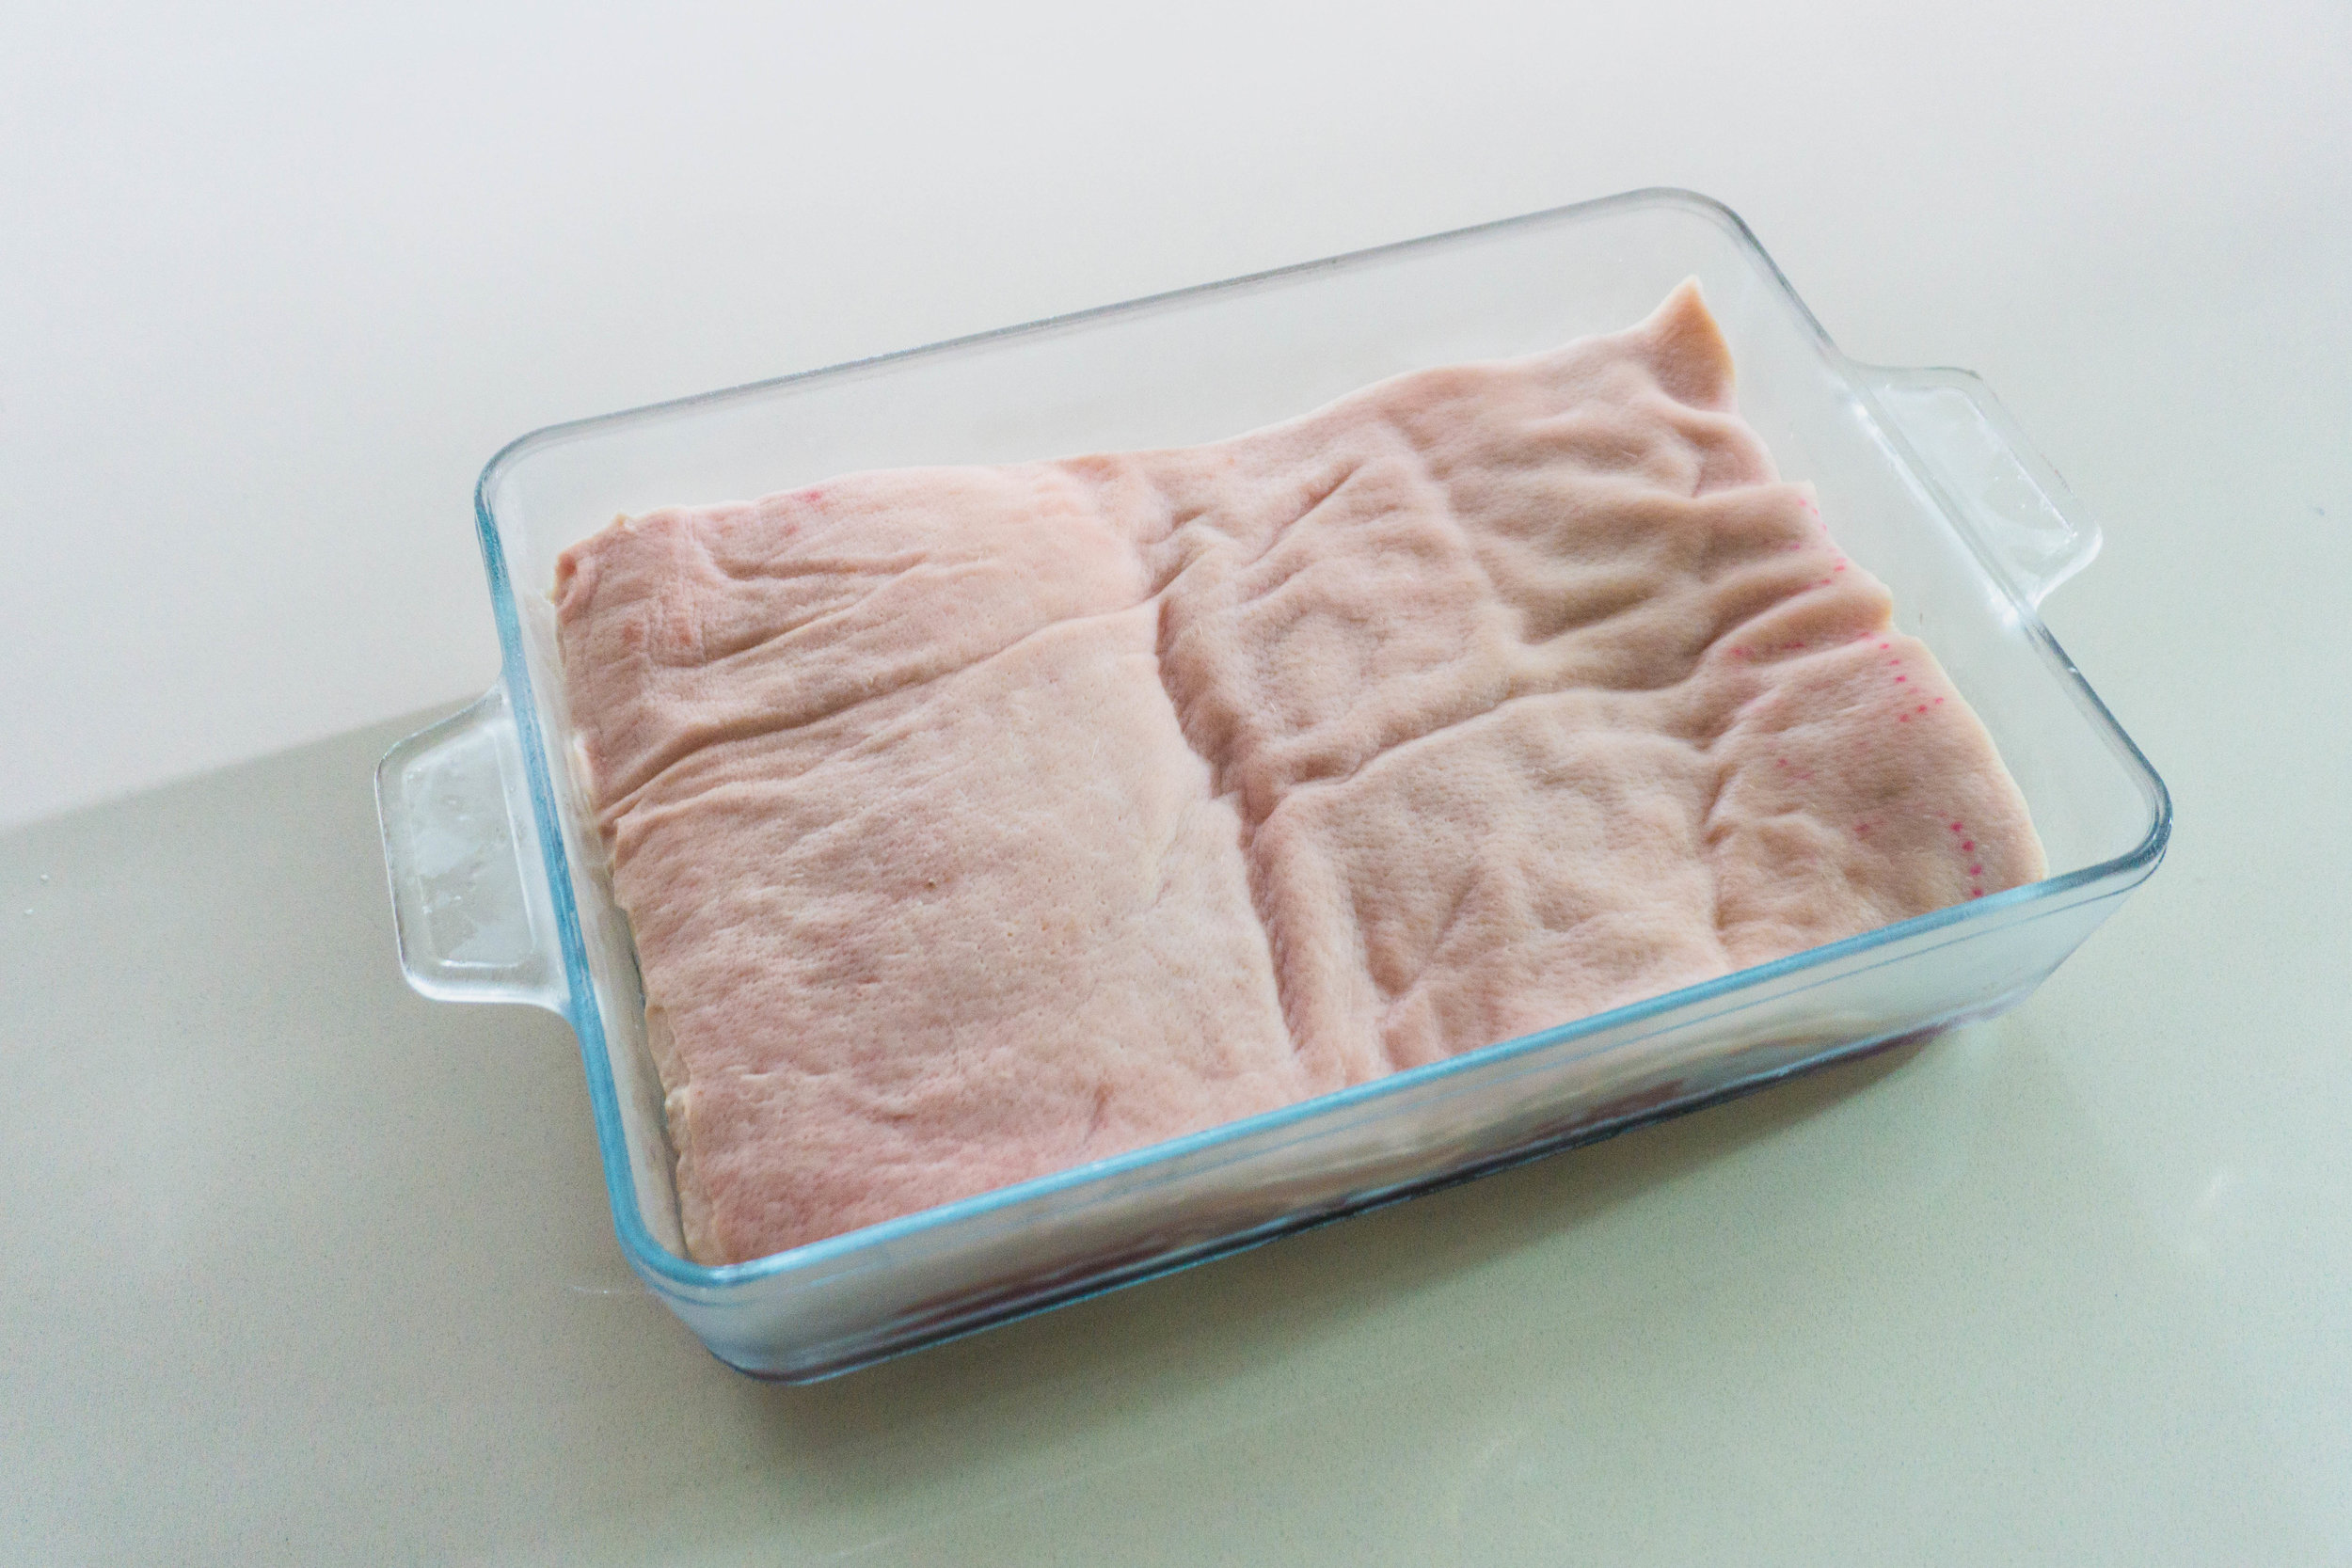
So the most efficient seasoning method is to use a dry rub or pasty marinade and season only the meat part of the belly, and leave it in the fridge uncovered overnight, which will help dry off the skin layer while the rest of the belly is being flavoured! For that distinct, Canto-hawker shao rou taste, use a five-spice and lam yee (fermented bean curd) paste-rub.
Salt crust
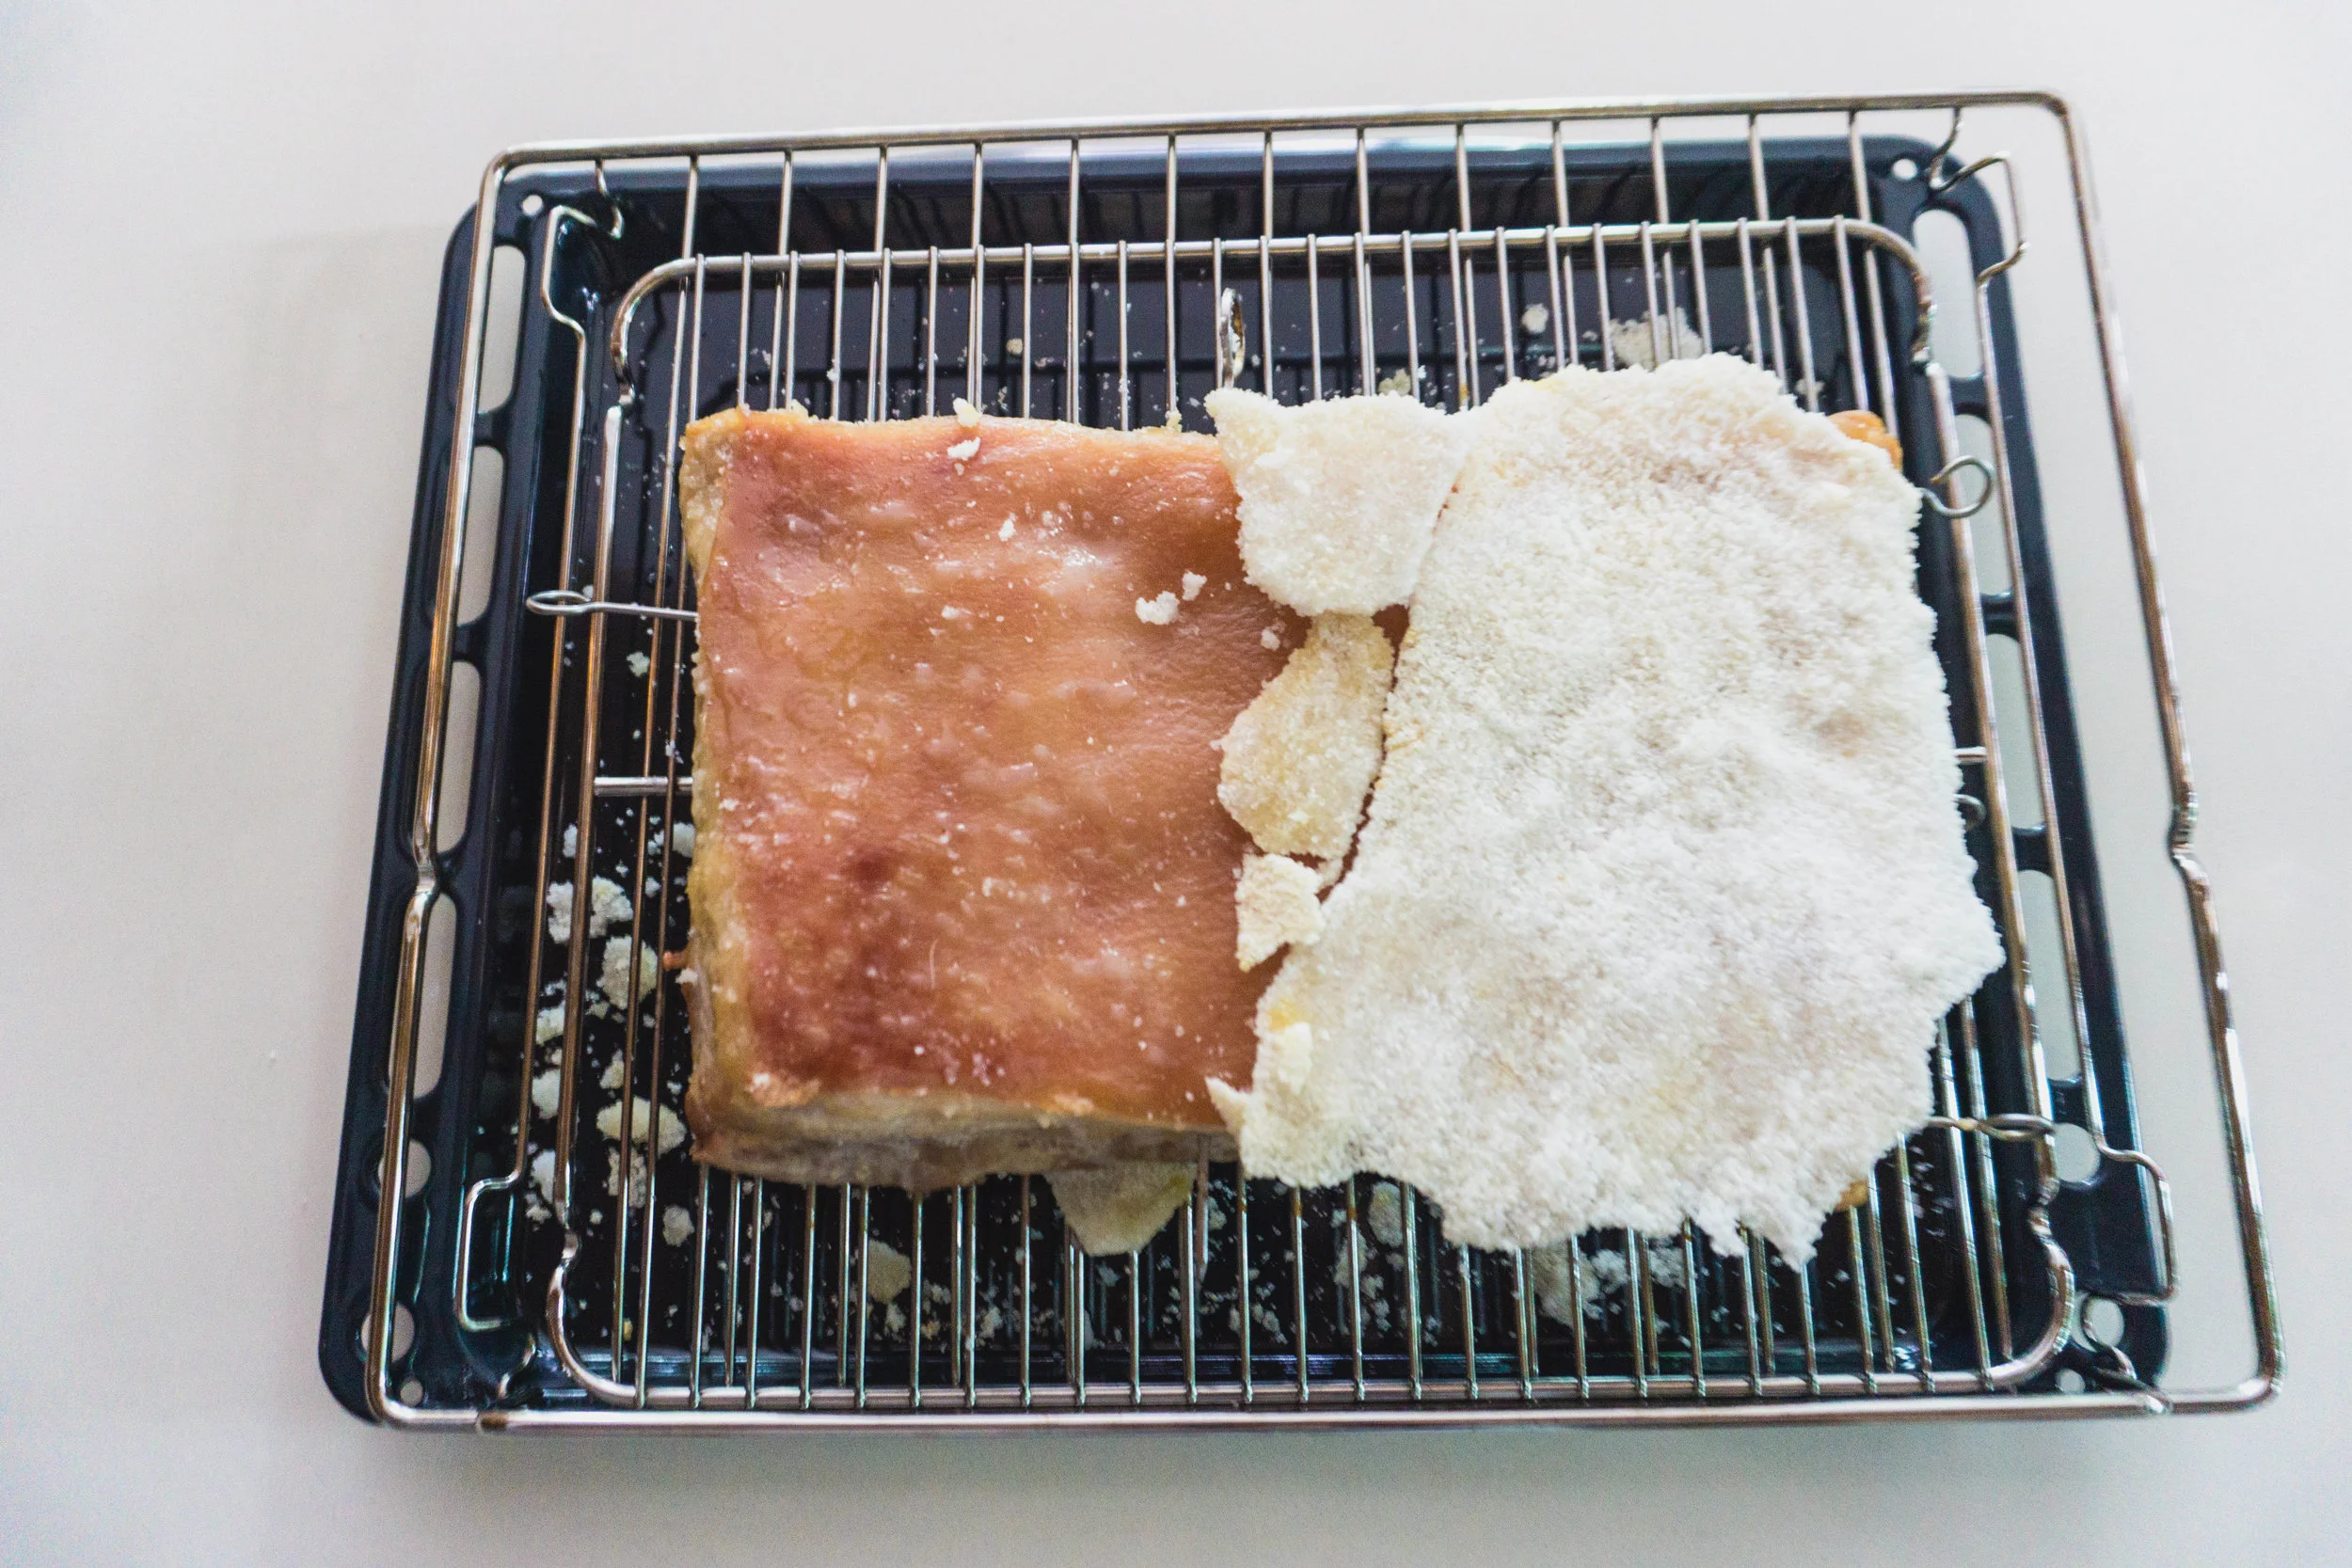
This next step might sound a little strange, but it’s the crux of this whole recipe. It requires putting a thick layer of salt on the skin of your pork belly, making sure every inch of that pristine skin is covered in salt, then roasting it whole. Roasting this salt-covered belly in the oven will then draw out more moisture from the skin and form a hardened salt crust, which is then removed.
For some reason this seems to work flawlessly each time. I’m curious to know what actually happens in the skin which makes this salt crust technique work so well, buttt it was a little hard finding reliable literature on this, so I’ll just attribute this to kitchen fairy magic for now. Perhaps one day when I’m feeling more science-y, I’ll Kenji my way to an explanation.
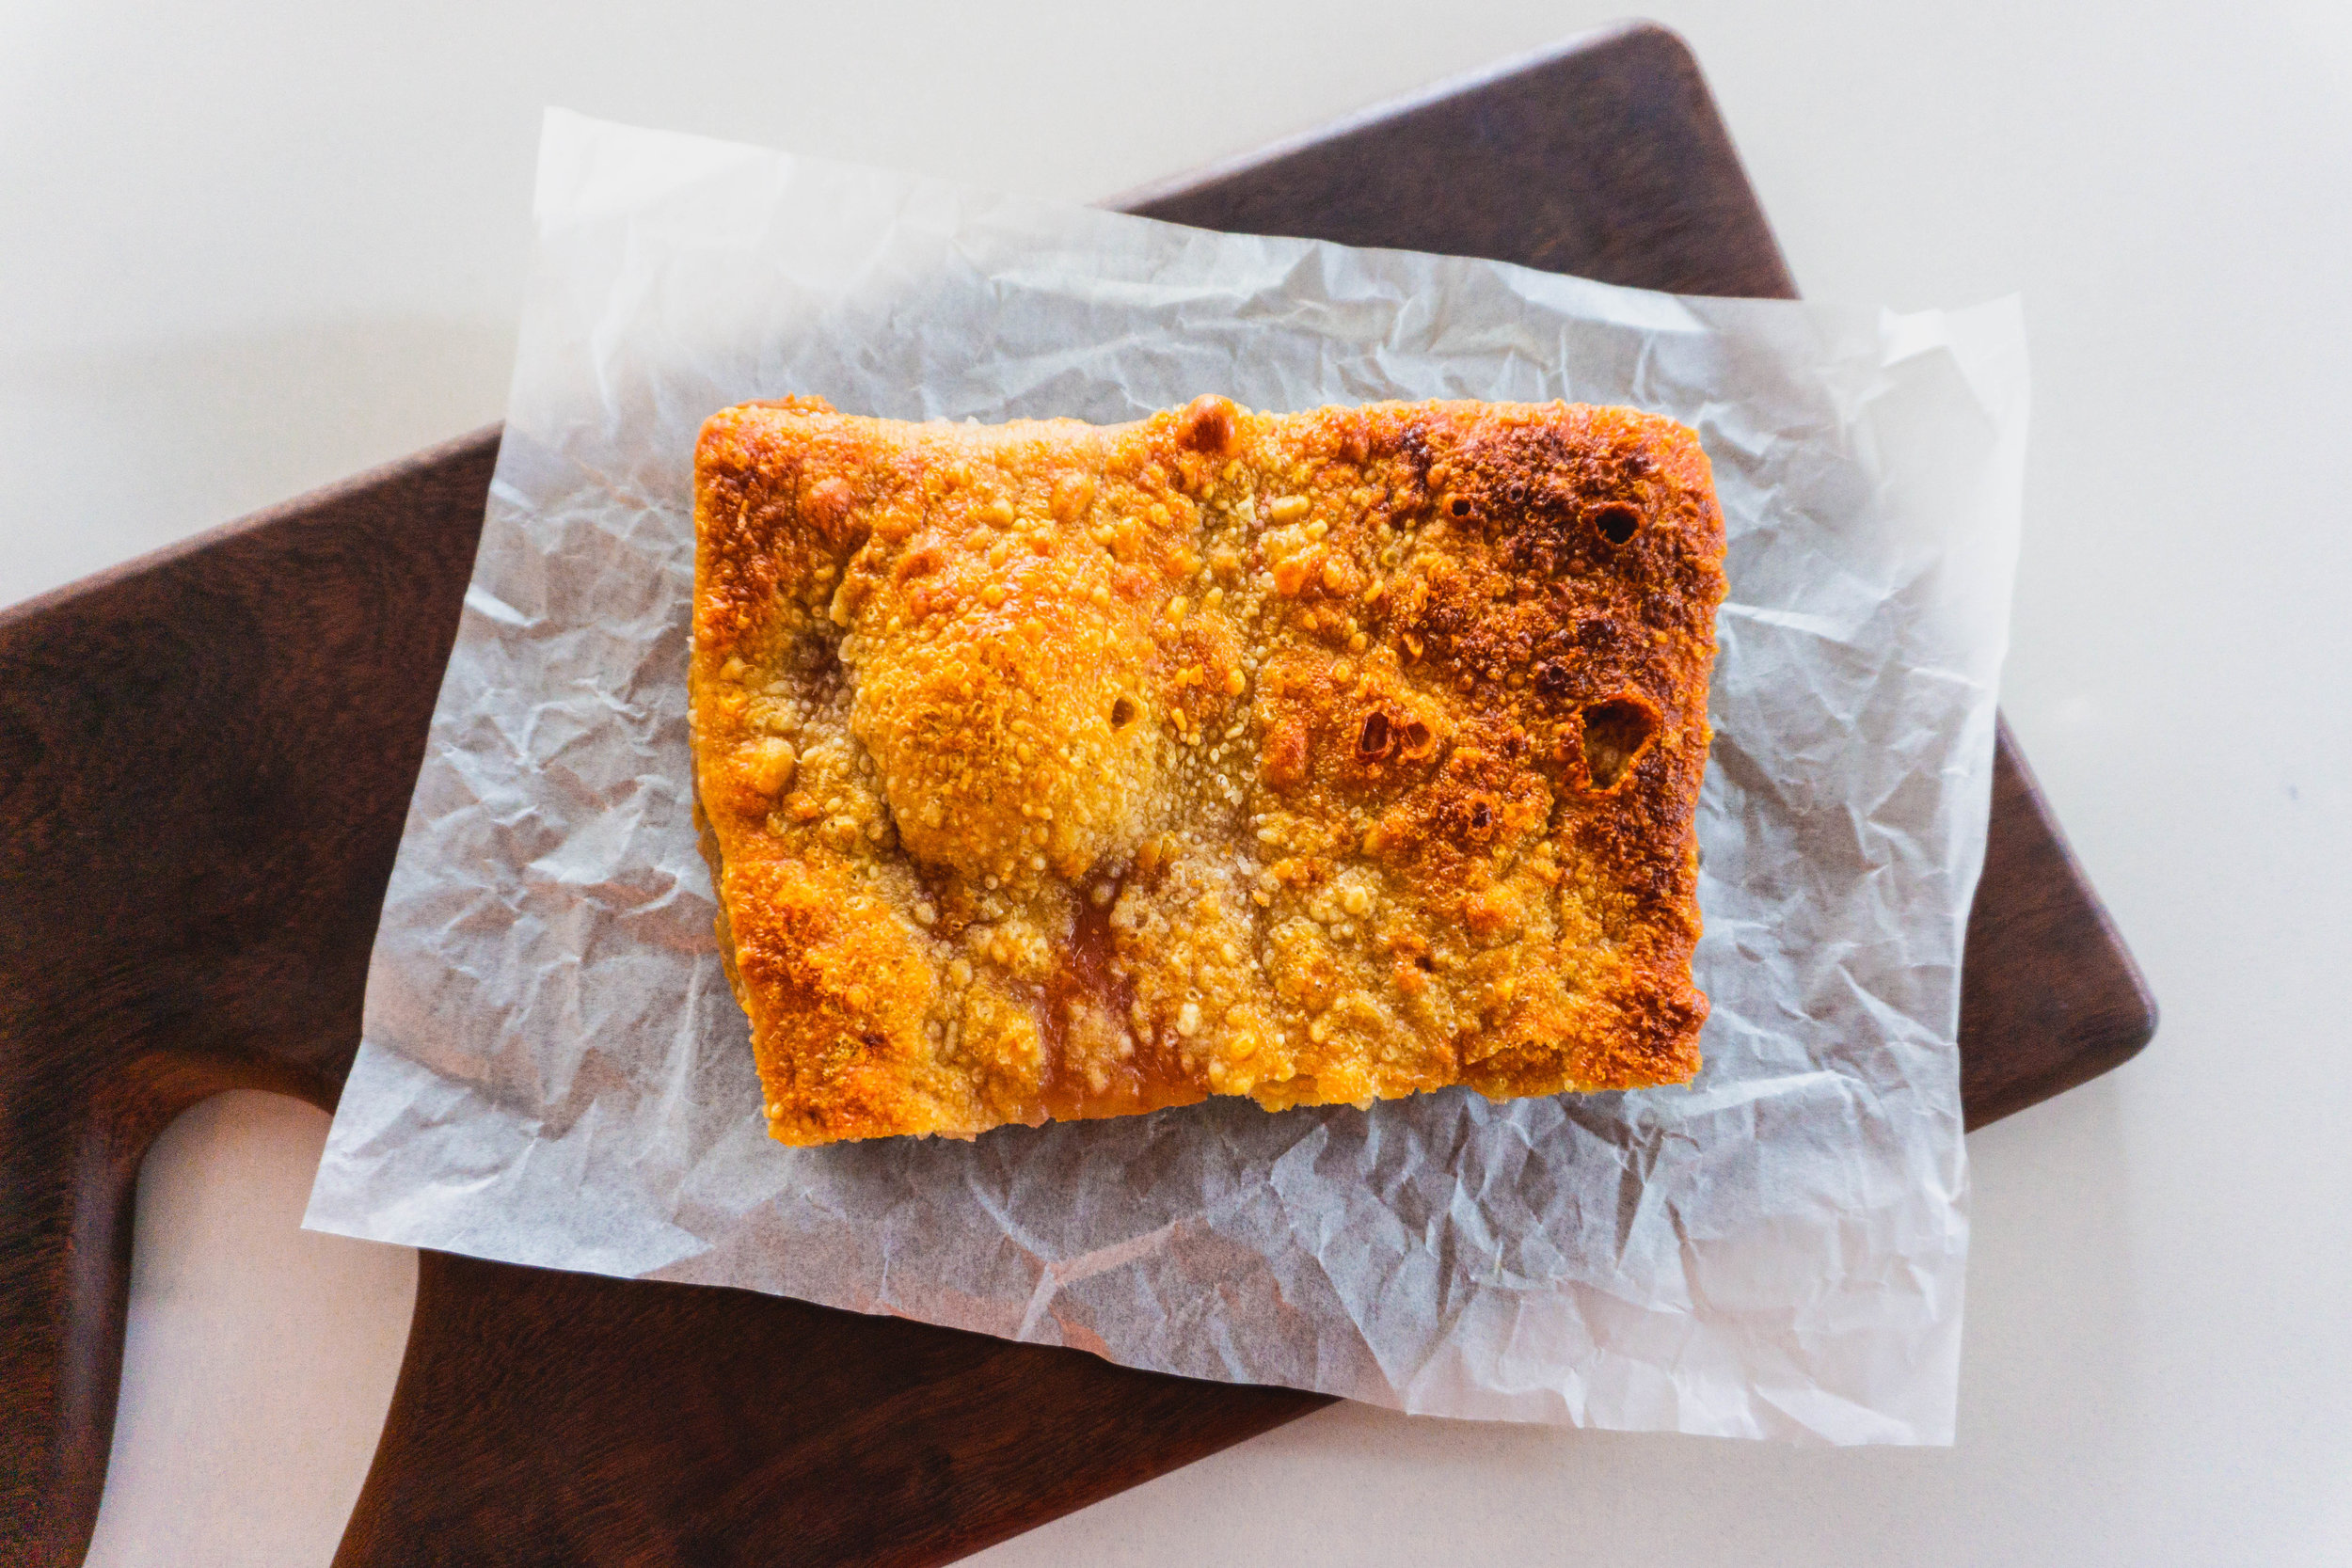
Let the skin bubble!

The last step in this process is to roast the belly at ridiculously high heat to make the skin really crisp up and bubble and pop. This is one of those moments that’ll make you wanna sit in front of the oven and brave the heat just to watch the whole thing happen.


---
Shao Rou (燒肉)
Ingredients:
500g pork belly, get the ones with a good layer of fat (a 2:1 meat-to-fat ratio is what I usually aim for)
2 tbsp lam yee (fermented bean curd)
15g five spice powder
5g pepper
lotsa salt
Method:
To make your marinade, mix the lam yee, five spice powder, and a pinch of salt together in a bowl.
Rube the marinade on the meat parts of the pork belly, leaving the skin marinade-free. Keep in the refrigerator uncovered overnight (up to 1 day). The next day, take the pork belly out of the fridge an hour before roasting to get it to room temperature.
Preheat your oven to 200°C. Place a deep tray with boiling water on the bottom of the oven. (see notes)
Stick skewers through the pork belly (4 would be ideal) to help it stay flat when roasting. Place a thick layer of salt on the skin of the pork belly, making sure the whole skin is evenly covered. Then, place the pork belly on a wire rack and roast in the oven for 40 minutes.
Remove the pork belly from the oven and crack the salt crust, then remove all the salt from the pork skin. Turn the oven up to 240°C and roast the pork belly for a further 30 minutes, or until the skin looks crispy. Remove from oven and let it cool slightly.
Resist temptation to finish it all in one go.
Fail step 5. Feel guilty about yourself, but also feel real good from all that glorious porky goodness.
Notes:
The tray of water in the oven serves two purposes. First, it helps to create steam, which helps with making the skin crispy..? (I’m actually not too sure how this actually works, but it does help. Think of how steam gives breads a firm crust.) It'll also helps to catch all that fat drippings from the pork belly and prevents any bits from scorching on your pan, which makes clean-up a lot easier!