
Frozen Espresso Parfait
It’s my first bake of the year! So to ease myself and get those baking muscles pumping again, I went for a tried and true recipe. It’s from one of my favourite cooks in recent times — Helen Goh! If you haven’t heard of the name (shame on you), she’s a Malaysian who’s done great things in the world of food. She heads up the Ottolenghi team in more ways than one (yes, that Ottolenghi), has a cookbook to her name, keeps up multiple recipe columns in Australia (she lives in London), and is an absolute qween when it comes to desserts. And she does all this on top of being a kick-assmother to two kids. Yup, she’s the very definition of #goals.
So, I flipped through Sweet (the cookbook she co-authored with Yotam Ottolenghi) and picked one of her favourite recipes from it — ‘Frozen Espresso Parfait For A Crowd'. Also, sub-reason I picked that recipe was because I had a party that weekend, so the second half of the recipe title might’ve influenced my decision…


To no one’s surprise, the recipe is an absolute stunner! I mean, it is an Ottolenghi recipe after all. It’s got the sweet, the savoury, the crunch, the cream, the kick of caffeine and the pleasantly bitter buzz of alcohol. It’s a surefire crowd-pleaser if there ever was one. Plus, it’s the closest thing you can get to ice cream without an ice cream machine, only better. Most of all though, I’m smitten by it because I took so many liberties with it and it still came out pretty much perfect.
Case in point — here’s a laundry list of changes I made to recipe (some intentional, some not so much), and it still turned out tastier than nearly all the things I made last year. (Well, except those lotus paste salted egg doughnuts I made in October; those were special. 😉)
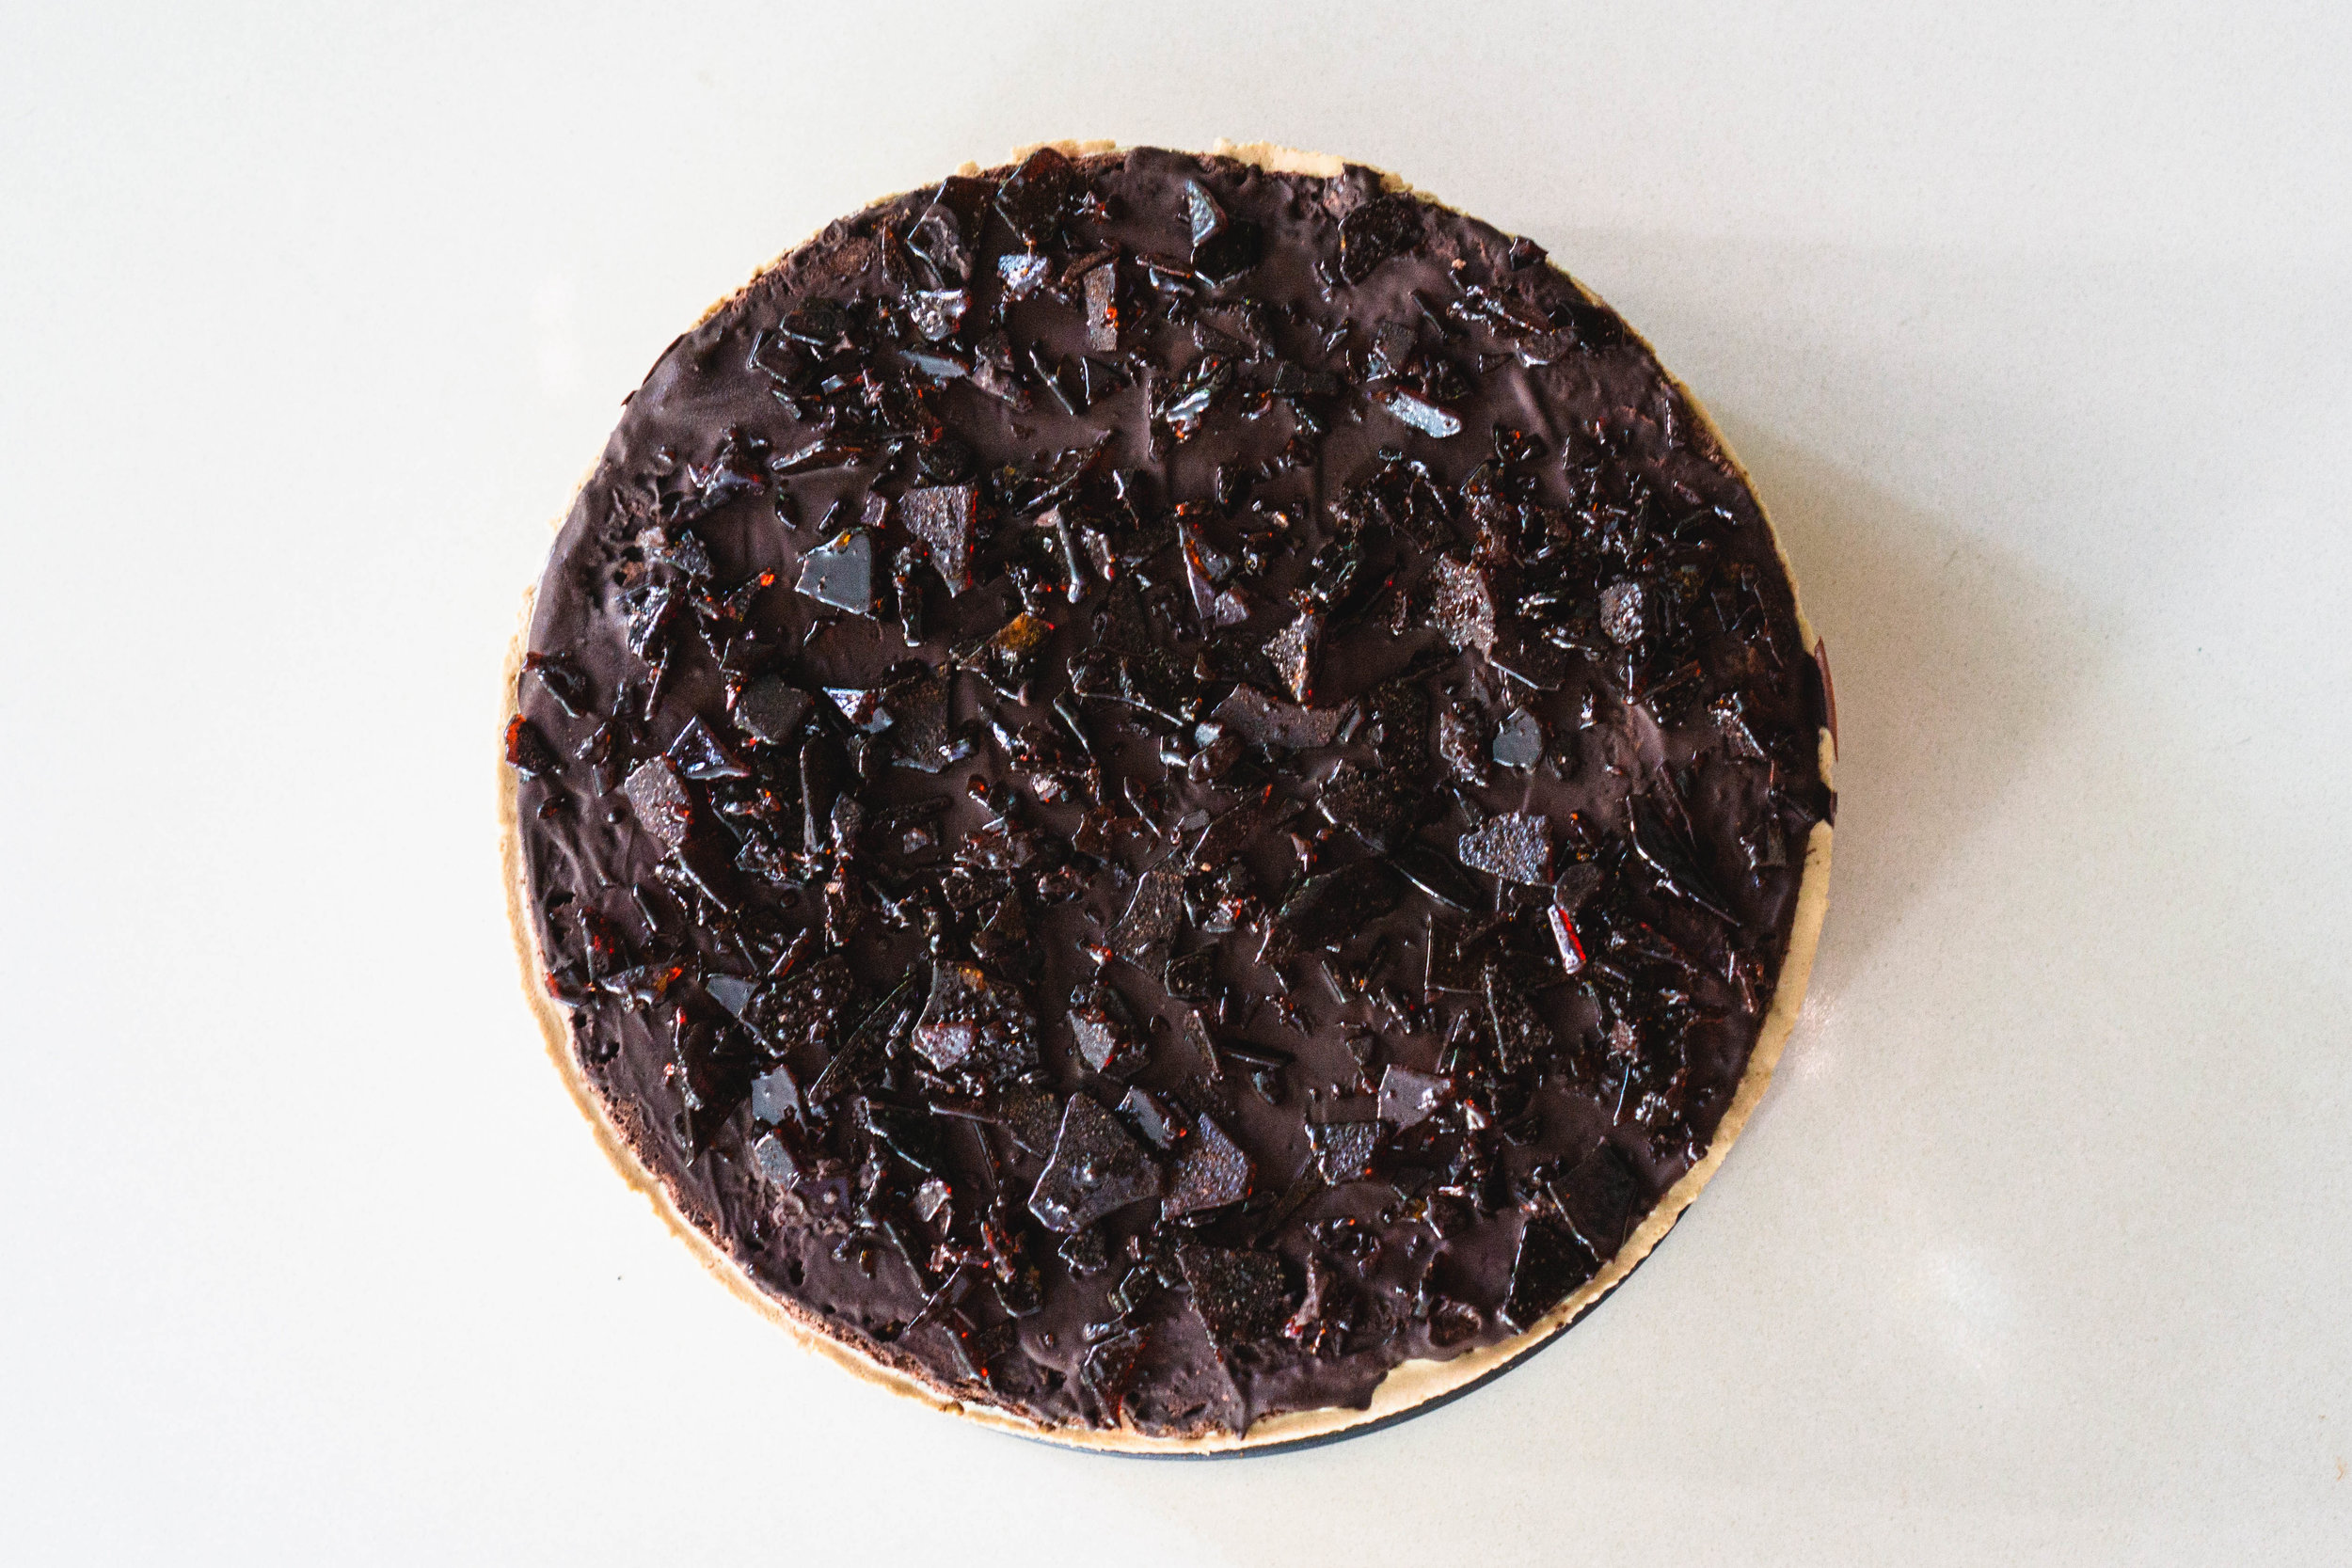
So, let’s get the most embarrassing one out of the way first — I accidentally burnt the praline. To be fair, I was trying to change my Spotify baking playlist from lo-fi study music to upbeat, funky video-game music, took my eyes off the caramel for a split second, and it went from the colour of overwashed chinos to a deep, dark amber bordering on cinder. However, it reminded me of a burnt caramel ice cream I had at Toscanini’s in Boston which I absolutely devoured, so I used it in the praline anyway, which gave it a welcome hint of smokiness, kinda reminiscent of super dark roast coffee beans. 😉 (Warning: there’s a fine line between burnt-but-edible caramel and burnt-but-cancerous caramel, so if your caramel turns out darker than death, you might want to toss it out and start a new batch.)
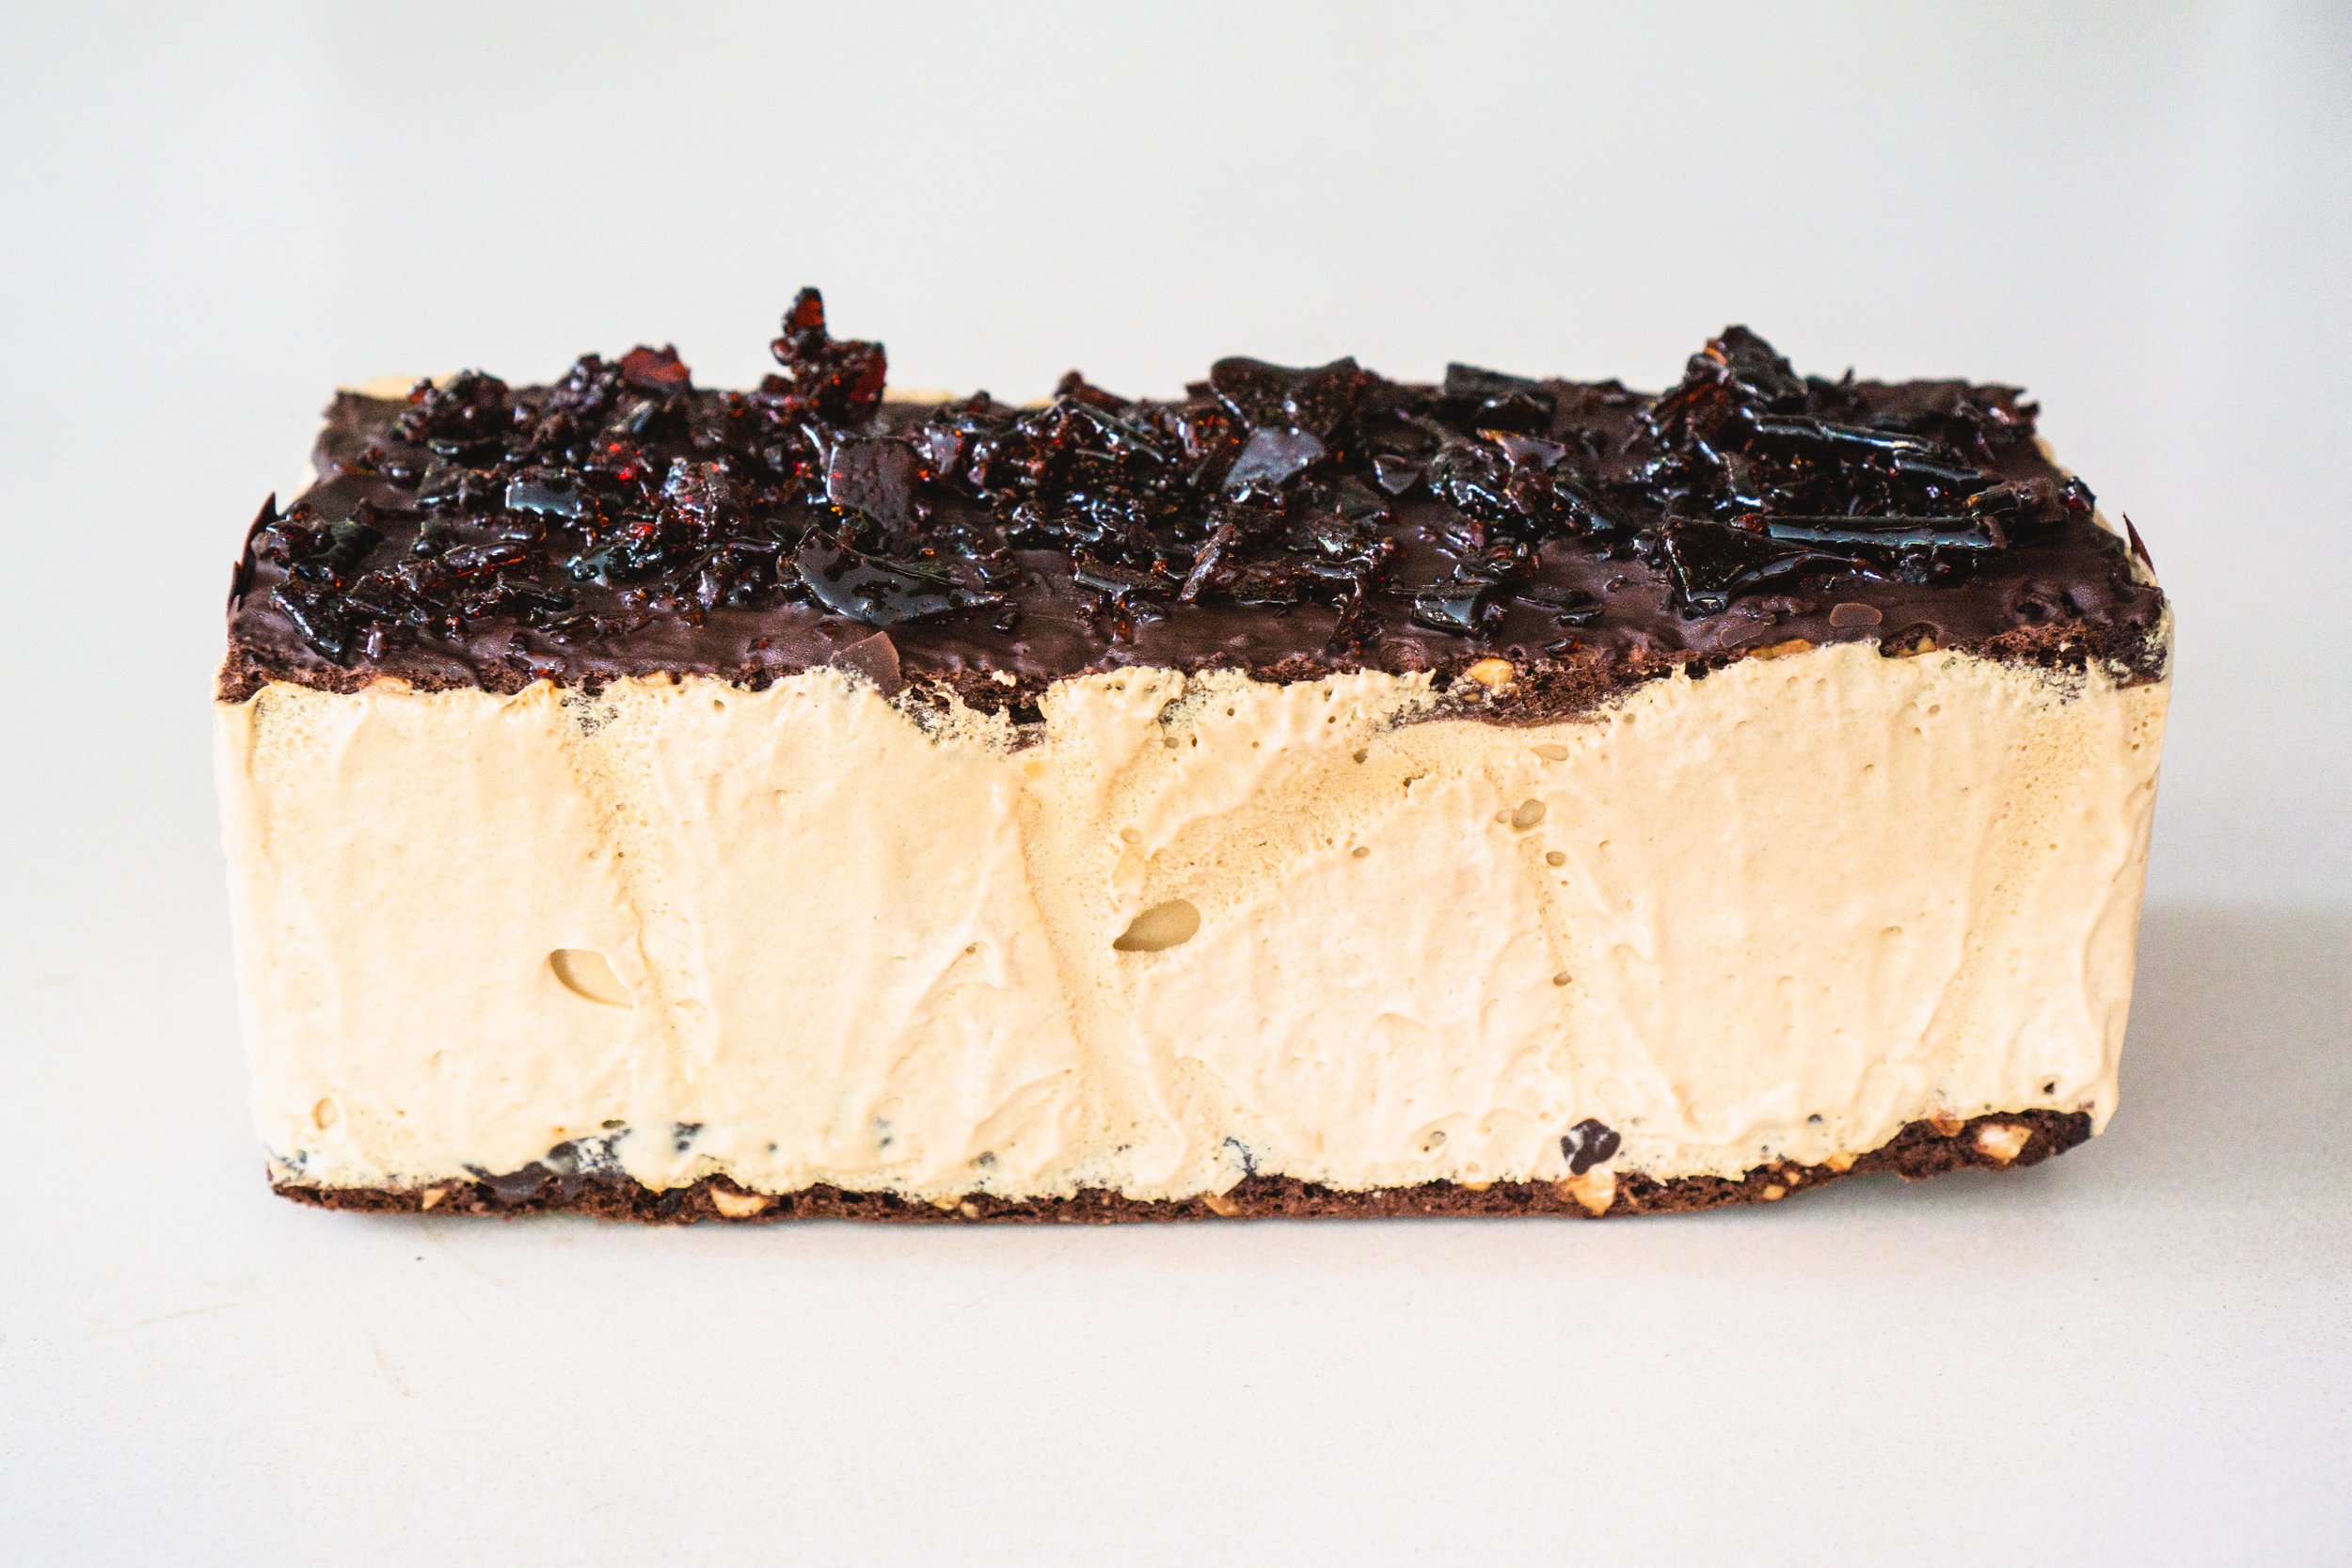
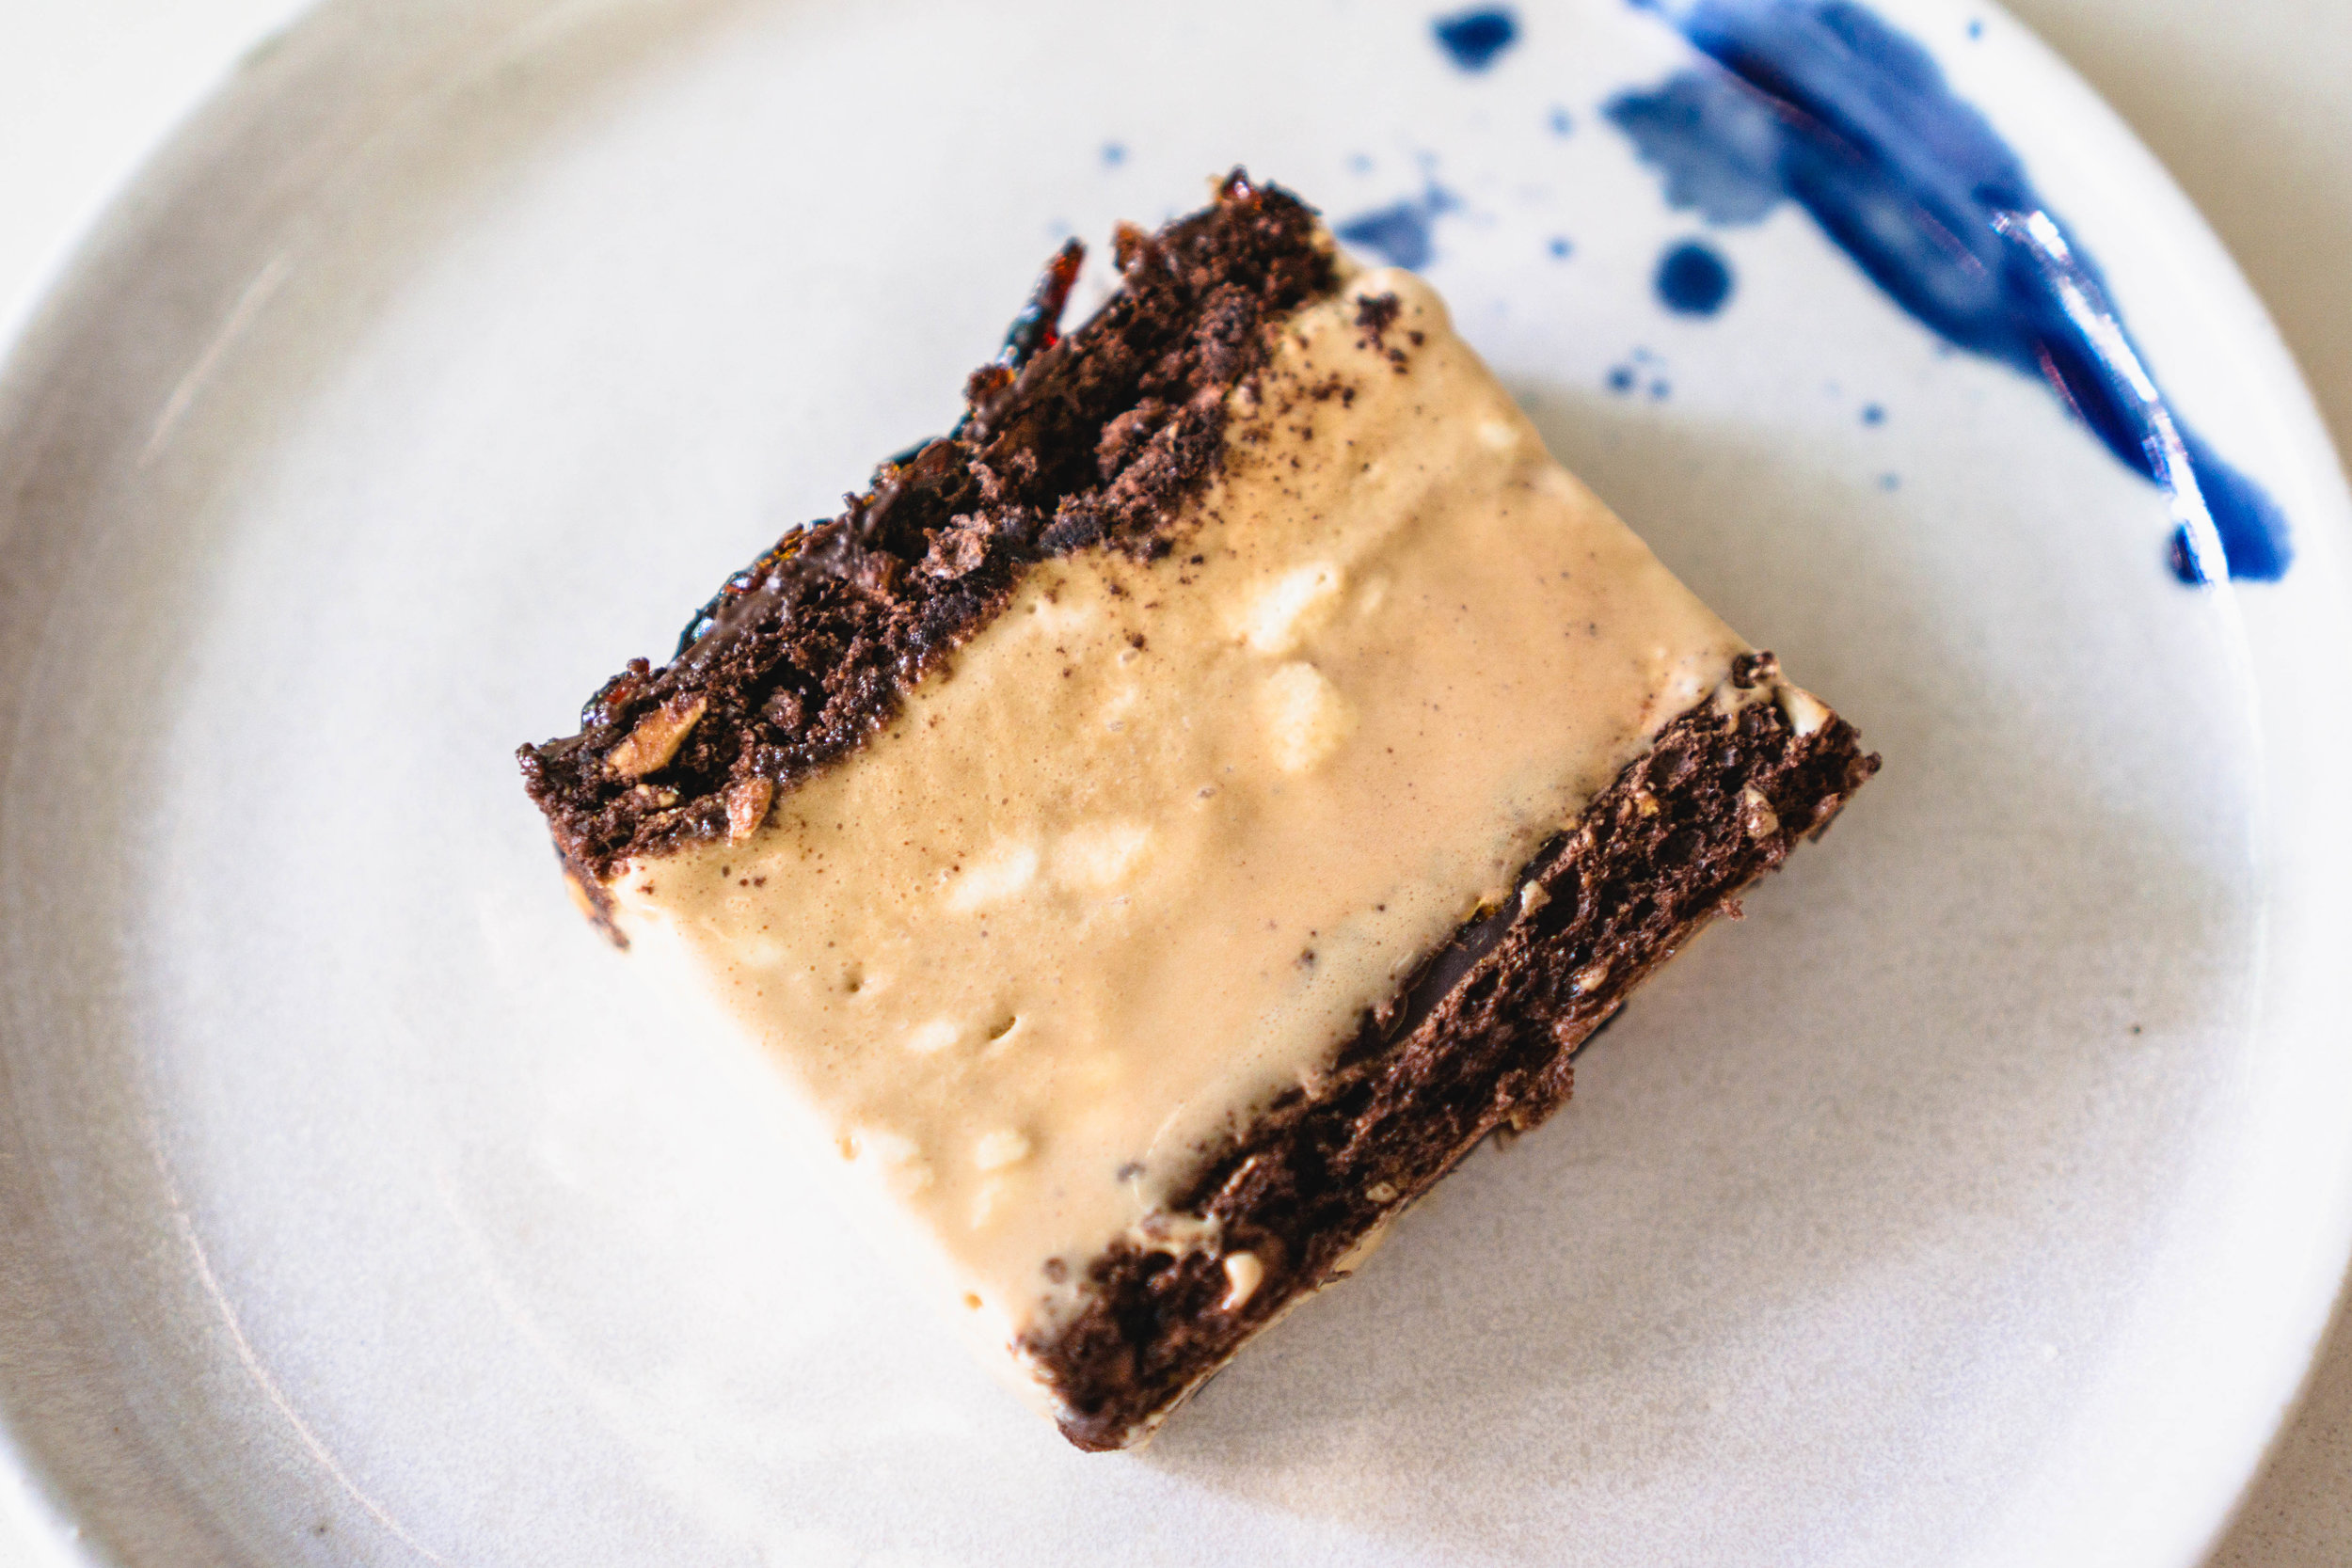
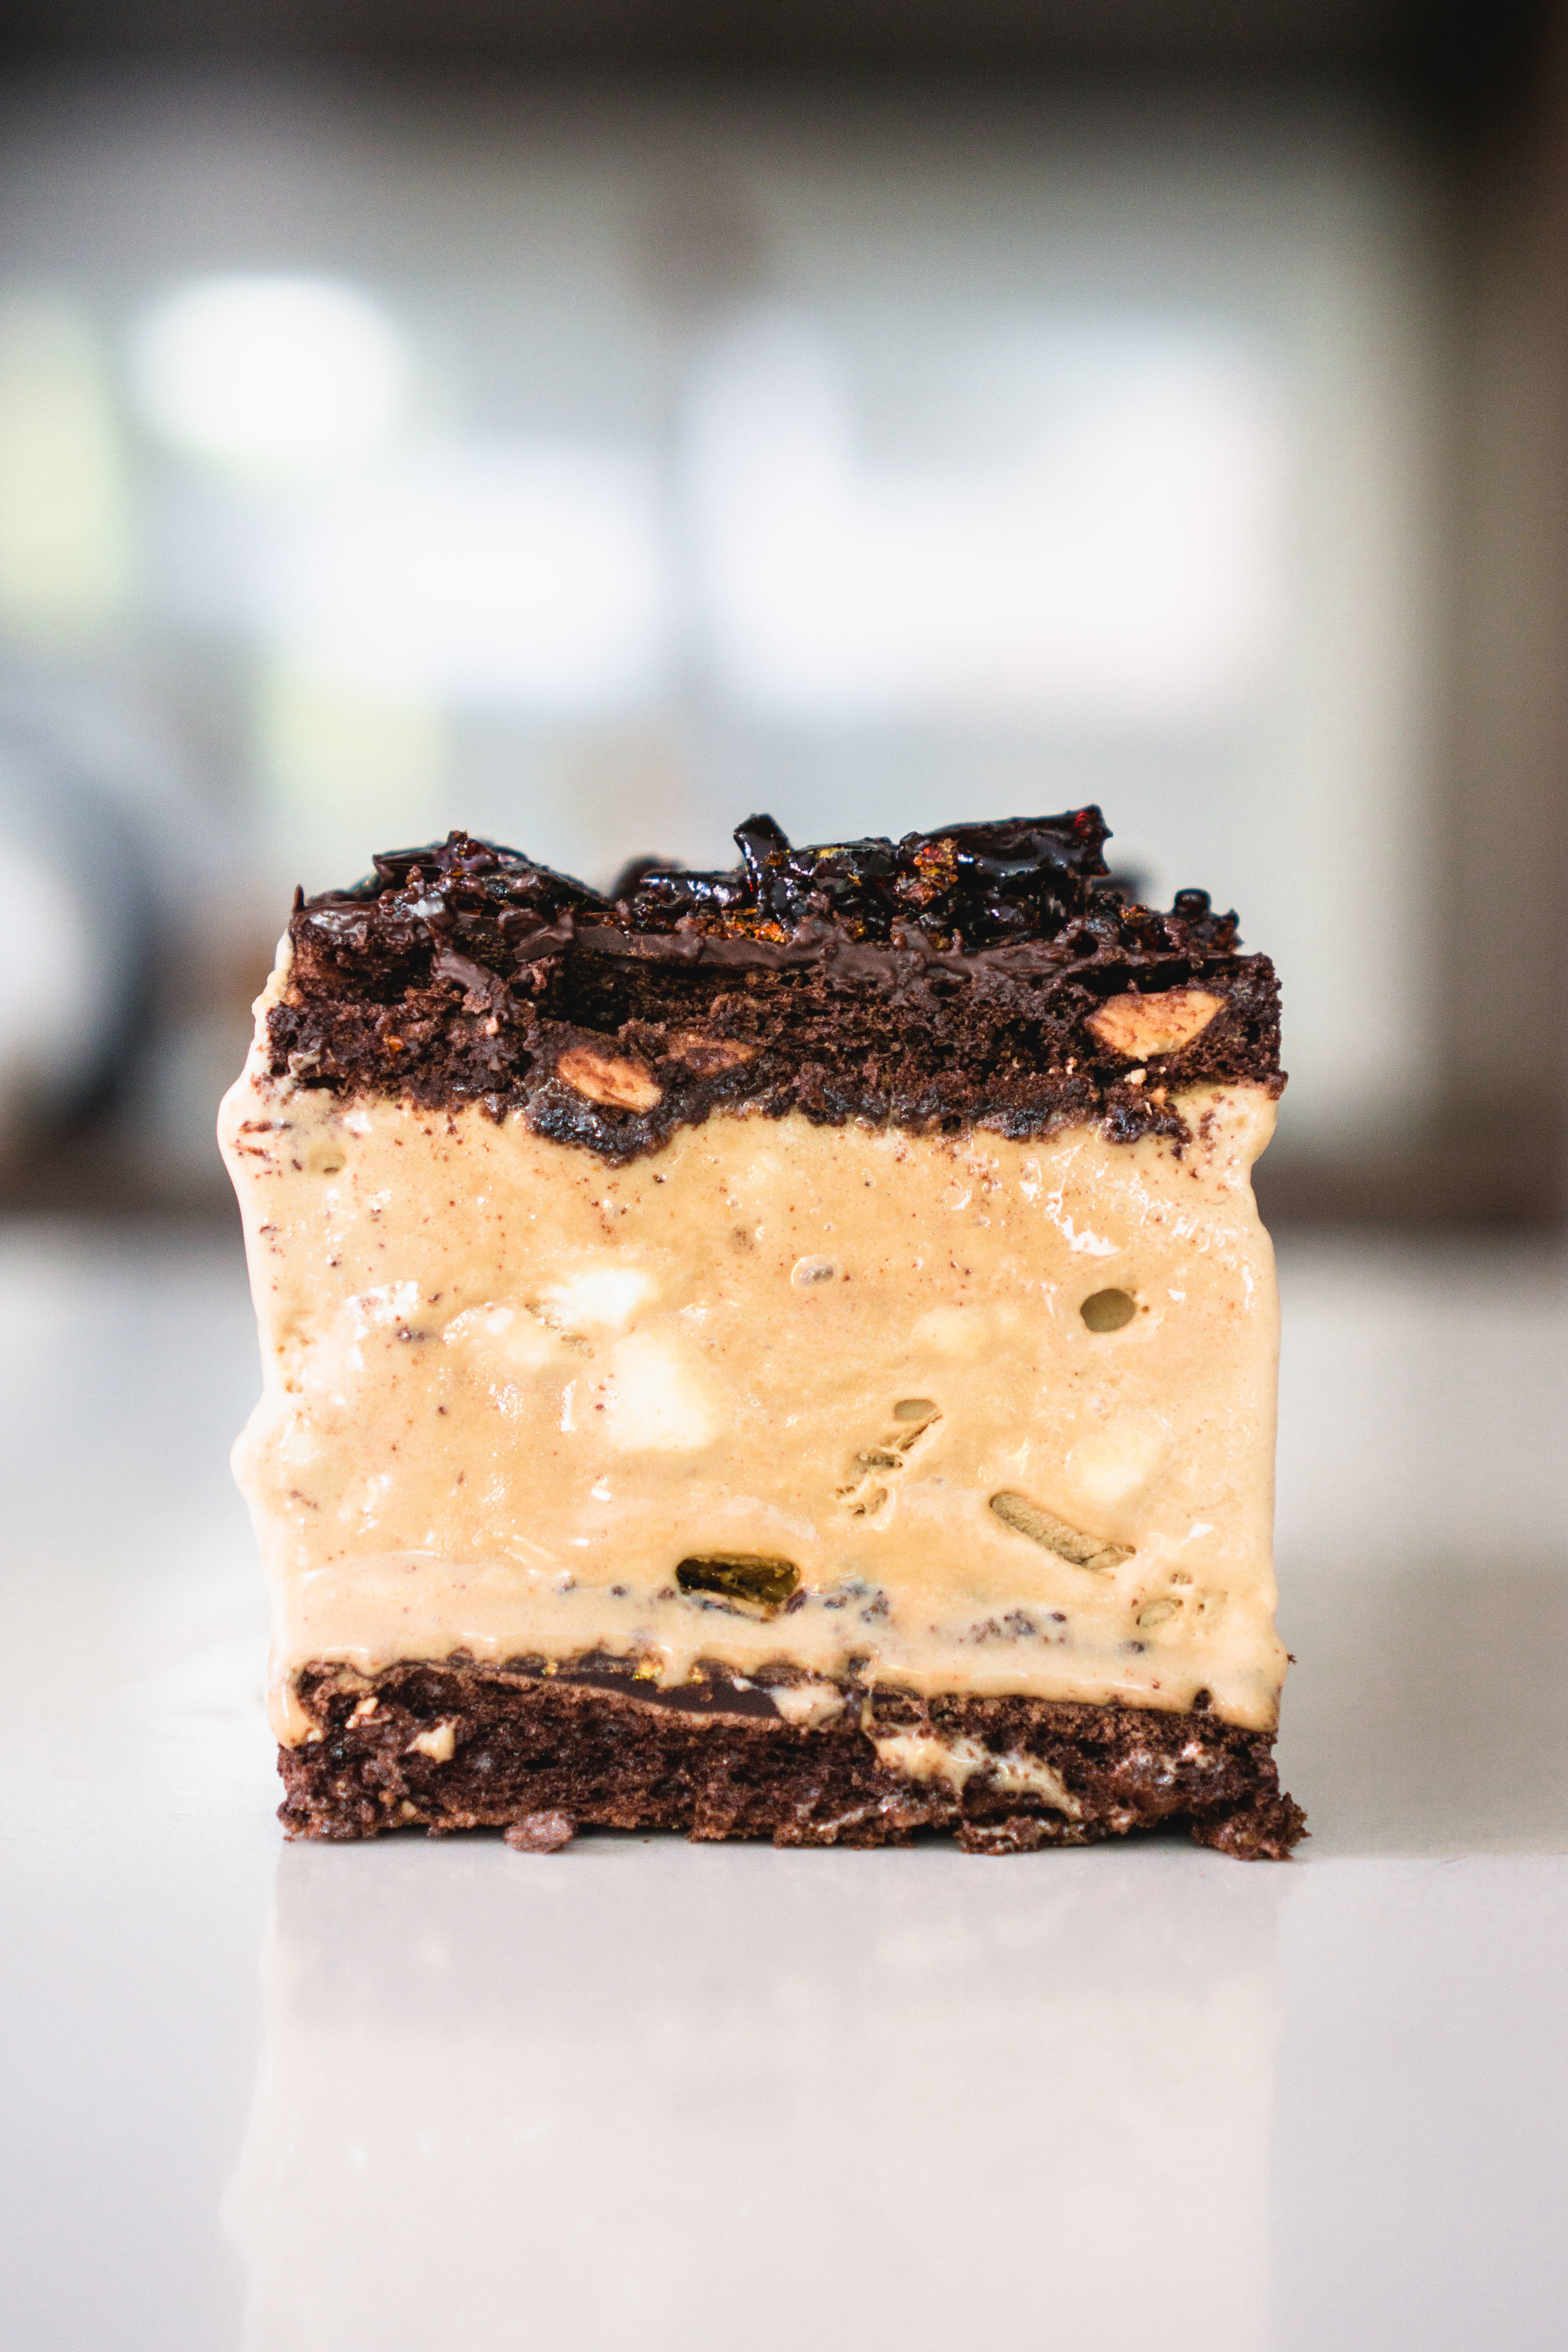
I under-folded the parfait mix before freezing it, so there are white streaks of whipped cream spread unevenly through the parfait. Still tasted bomb though.
I reduced the amount of sugar used, mainly to account for me and my family’s low tolerance for sugar. (I cut it down by about a third, and dad still thinks it’s way too sweet.)
I didn’t make the whisky caramel sauce because I was too lazy, and instead added the alcohol into the parfait. (Because why not.)
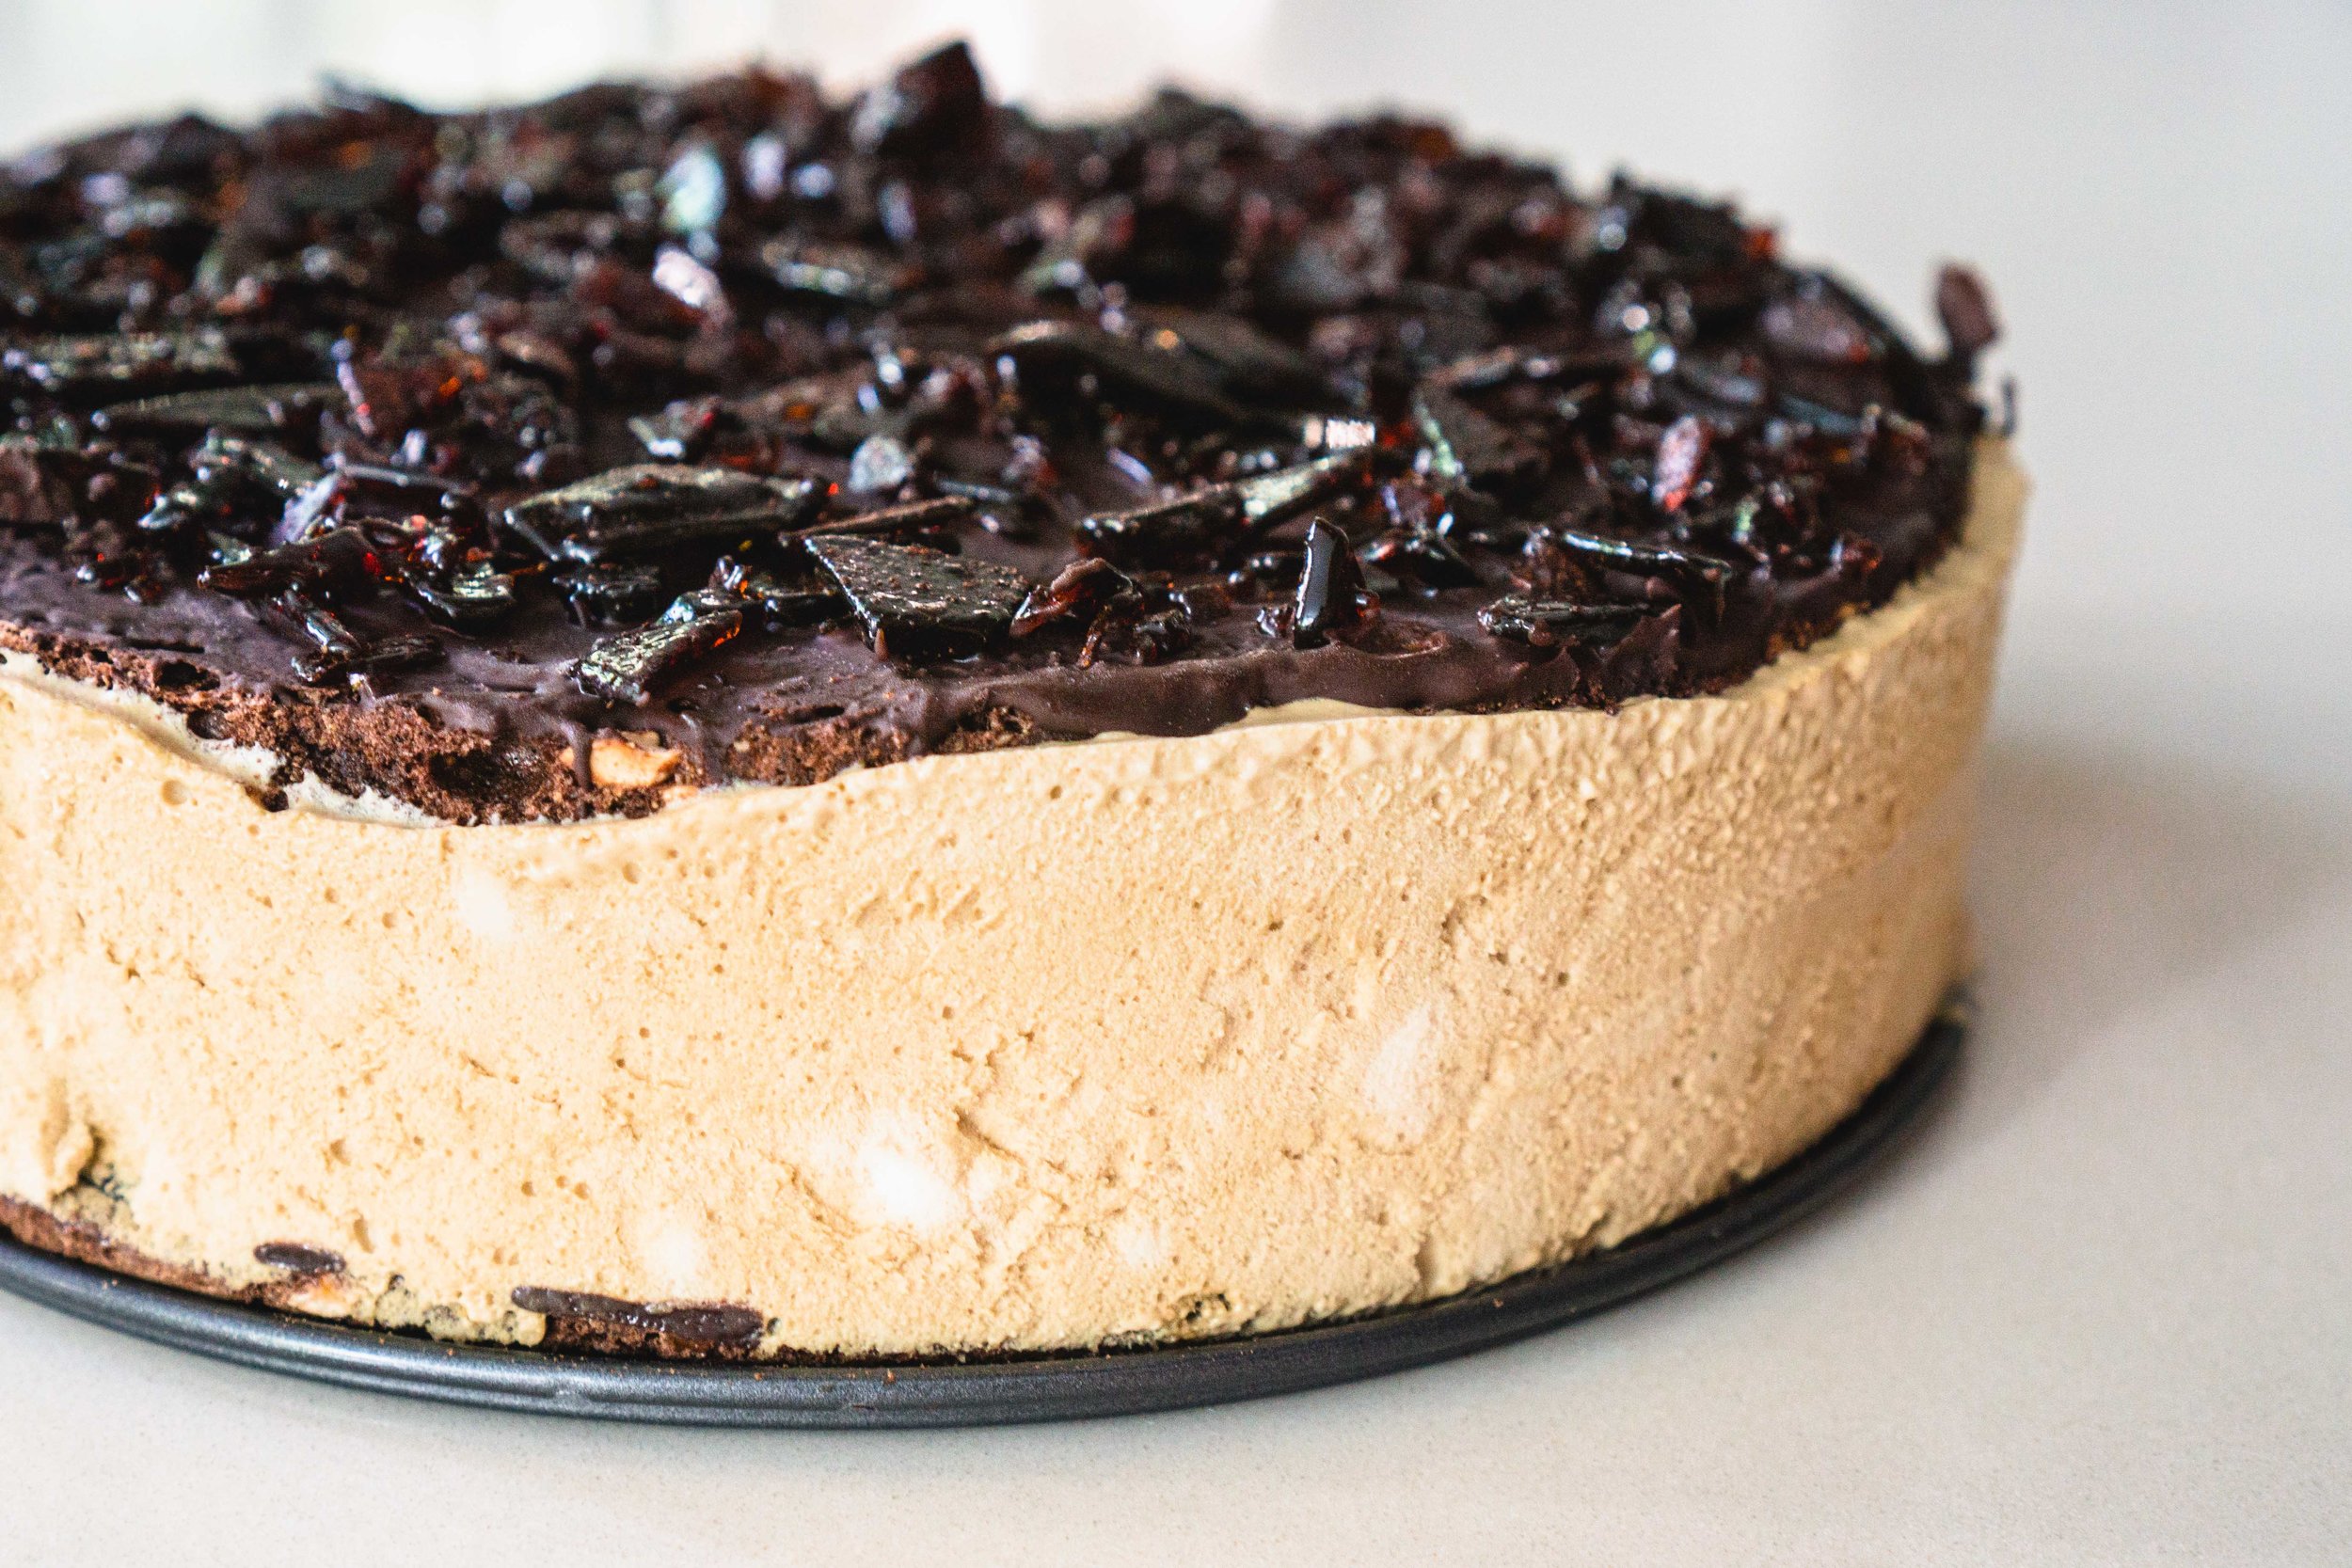
I made it in a loaf tin (and a round cake tin for the party) and both came out just as nice.
I didn’t put cream of tartar in my meringue, because I forgot to get some during my grocery run, and realised too late.
My thermometer chose to run out of battery the exact moment I needed it, so I had to rely on culinary school pâtisserie lesson #2 to gauge the temperature of the sugar, and even then I wasn’t sure I got it right. But it came out fine so I guess it did! (See Step 9 in the recipe.)
So even after taking a battering in my kitchen, the parfait still came out killer! I can only hope that the rest of my bakes for the year can turn out half as good as this one did. So thank you Yotam and Helen for sharing this gem of a recipe with the world! (Yes, I like to pretend like we’re on first-name terms with them, heh.)
Happy baking, y’all!
Frozen Espresso Parfait
Serves 12-16
This is nearly identical to Ottolenghi & Helen Goh’s recipe in Sweet, so all credit goes to them; I just made some minor changes in terms of sweetness, did without the caramel sauce, and worked some alcohol into the parfait. 😉
Ingredients
Coffee praline
125g caster sugar
2 tbsp water
1 ½ tsp finely ground coffee
Chocolate meringue
75g chopped hazelnuts (or 75g whole blanched hazelnuts)
60g icing sugar
20g Dutch-processed cocoa powder
125g egg whites (from 3 large eggs - the yolks are used in the parfait)
1/8 tsp salt
1/8 tsp cream of tartar, optional
60g caster sugar
200g dark cooking chocolate (70% cocoa solids), roughly chopped into 1cm pieces
Espresso parfait
350ml double cream
6 large egg yolks (you will have 3 from the meringues)
250ml espresso coffee
150g caster sugar
1 tbsp coffee liqueur (I use Kahlua), or whisky
Directions
Coffee praline: Put the sugar and water into a small saucepan and place over low heat. Stir to combine until the sugar has melted. Increase the heat to medium and simmer for about 5 minutes, until the sugar begins to brown at the edges. Gently swirl the pan so that the sugar cooks evenly, resisting the urge to stir. When the caramel has turned a clear amber – after about 1 minute – remove from the heat and pour on to a small parchment-lined tray. Tilt the tray as it sets to get a thin layer of caramel. Sprinkle all over with the ground coffee and set aside until completely cool and hard. Once cool, transfer to a food processor and blitz until roughly ground, or crack it by hand by folding the parchment in half then pressing down with the palm of your hands, repeating 4-5 times to crack the caramel. The praline pieces will range in size from powdery to about 0.5cm wide. Set aside until ready to use.
Chocolate meringue: Preheat the oven to 160°C (fan). Cut two sheets of baking parchment to fit two large baking trays. Using the base of the tin in which you are going to freeze the parfait (a 20cm square or round tin works, or even a loaf tin really), trace around the base on to each of the sheets of parchment. Turn the paper over and place on the baking trays so that the side you have drawn on is facing down but still visible. Set aside: this will be the template for the meringue bases.
If starting with whole hazelnuts, spread them out on a baking tray and roast for about 15 minutes, or until the nuts are lightly brown. Remove from the oven and, once cool enough to handle, chop them finely into 0.5cm pieces. If starting with chopped nuts, just spread them out on a baking tray and roast for 7–8 minutes. Set aside until completely cool.
Sift the icing sugar and cocoa powder together into a bowl and set aside. Place the egg whites in the bowl of an electric mixer with the whisk attachment in place. Add the salt and cream of tartar and beat on a medium-high speed for about 2 minutes, until soft peaks form. Gradually add the caster sugar – a tablespoon at a time – and continue to beat for 2–3 minutes, until very stiff. Gently fold in the sifted icing sugar and cocoa powder and the hazelnuts.
Divide the meringue mixture in two and dollop on to the two traced sheets, smoothing it out with a small metal spatula to fit the traced shapes. It will spread slightly as it bakes, but you can trim it back so that it fits the tin snugly later.
Bake the meringue sheets for about 1 hour, or until the meringues are crisp and dry (the inside will still be a little bit soft). Check the meringues halfway through and rotate the trays. Once done, remove them from the oven and set aside to cool. Once the meringues are cool, trim the edges so that they fit neatly into the tin in which the parfait will be frozen.
Melt the chocolate on a double boiler or in a microwave (30-45 seconds should do the trick), then set aside to cool slightly. Brush the flat side of each of the meringue bases with the melted chocolate and immediately sprinkle the coffee praline all over the chocolate so that it has time to adhere to the chocolate before it sets. Set aside to dry while you make the parfait.
Espresso parfait: Place the cream in the bowl of an electric mixer with the whisk attachment in place. Beat until soft peaks form, then transfer to a container and store in the fridge until ready to use.
Place the egg yolks in a clean bowl of an electric mixer with the whisk attachment in place, in preparation for the next stage. Put the espresso coffee and sugar into a medium saucepan and place over a low heat, stirring until the sugar has dissolved. Increase the heat to medium-high and simmer the coffee syrup. In the meantime, begin whisking the egg yolks on a medium-high speed. Keep checking the coffee syrup with a sugar thermometer and when it has reached 118°C (this should take 10-15 minutes), pour the hot coffee syrup slowly down the rim of the bowl on to the beating yolks, which should be thick and creamy by now. (If you don’t have a thermometer, you can get a small bowl of cold water, and spoon a bit of the boiling sugar into it. The sugar is at the right temperature if you can pinch the sugar together with your fingers and roll it into a small, soft ball. If the syrup diffuses through the water, it’s not ready yet; let it boil for longer.) Continue to whisk at medium-high speed until the bowl is no longer warm to touch – 10–15 minutes – then add the coffee liqueur. Whisk to combine, then turn off the mixer.
Prepare the tin; while the yolks are whipping and cooling, line the sides and base of your chosen tin with baking parchment, making sure there is an overhang on all sides. Place one of the meringue bases on the bottom, chocolate side down. It should fit neatly, with no large gaps around the sides.
When the yolk mixture is cool, remove the bowl from the mixer and use a large rubber spatula to fold in the whipped cream in three batches. Do not over-mix as you want to keep the parfait light and airy, but do make sure that there are no big lumps of cream. Pour the parfait over the meringue base and use a small spatula to smooth and even it out. Carefully place the second meringue sheet over the top of the parfait, chocolate side up. Press gently to ensure the meringue is completely in contact with the parfait. Cover with cling film and place in the freezer for at least 12 hours, or until completely firm.
When ready to serve, remove the frozen parfait from the freezer and, using the overhanging paper, gently pull the whole thing out. If your tin or tray has a removable base, push the parfait up from underneath. Slice into small blocks or rectangles with a warm serrated knife, and serve.