Chicken Under a Brick
You heard right. Chicken, cooked in a frying pan, under a brick. Why a brick, you might ask?
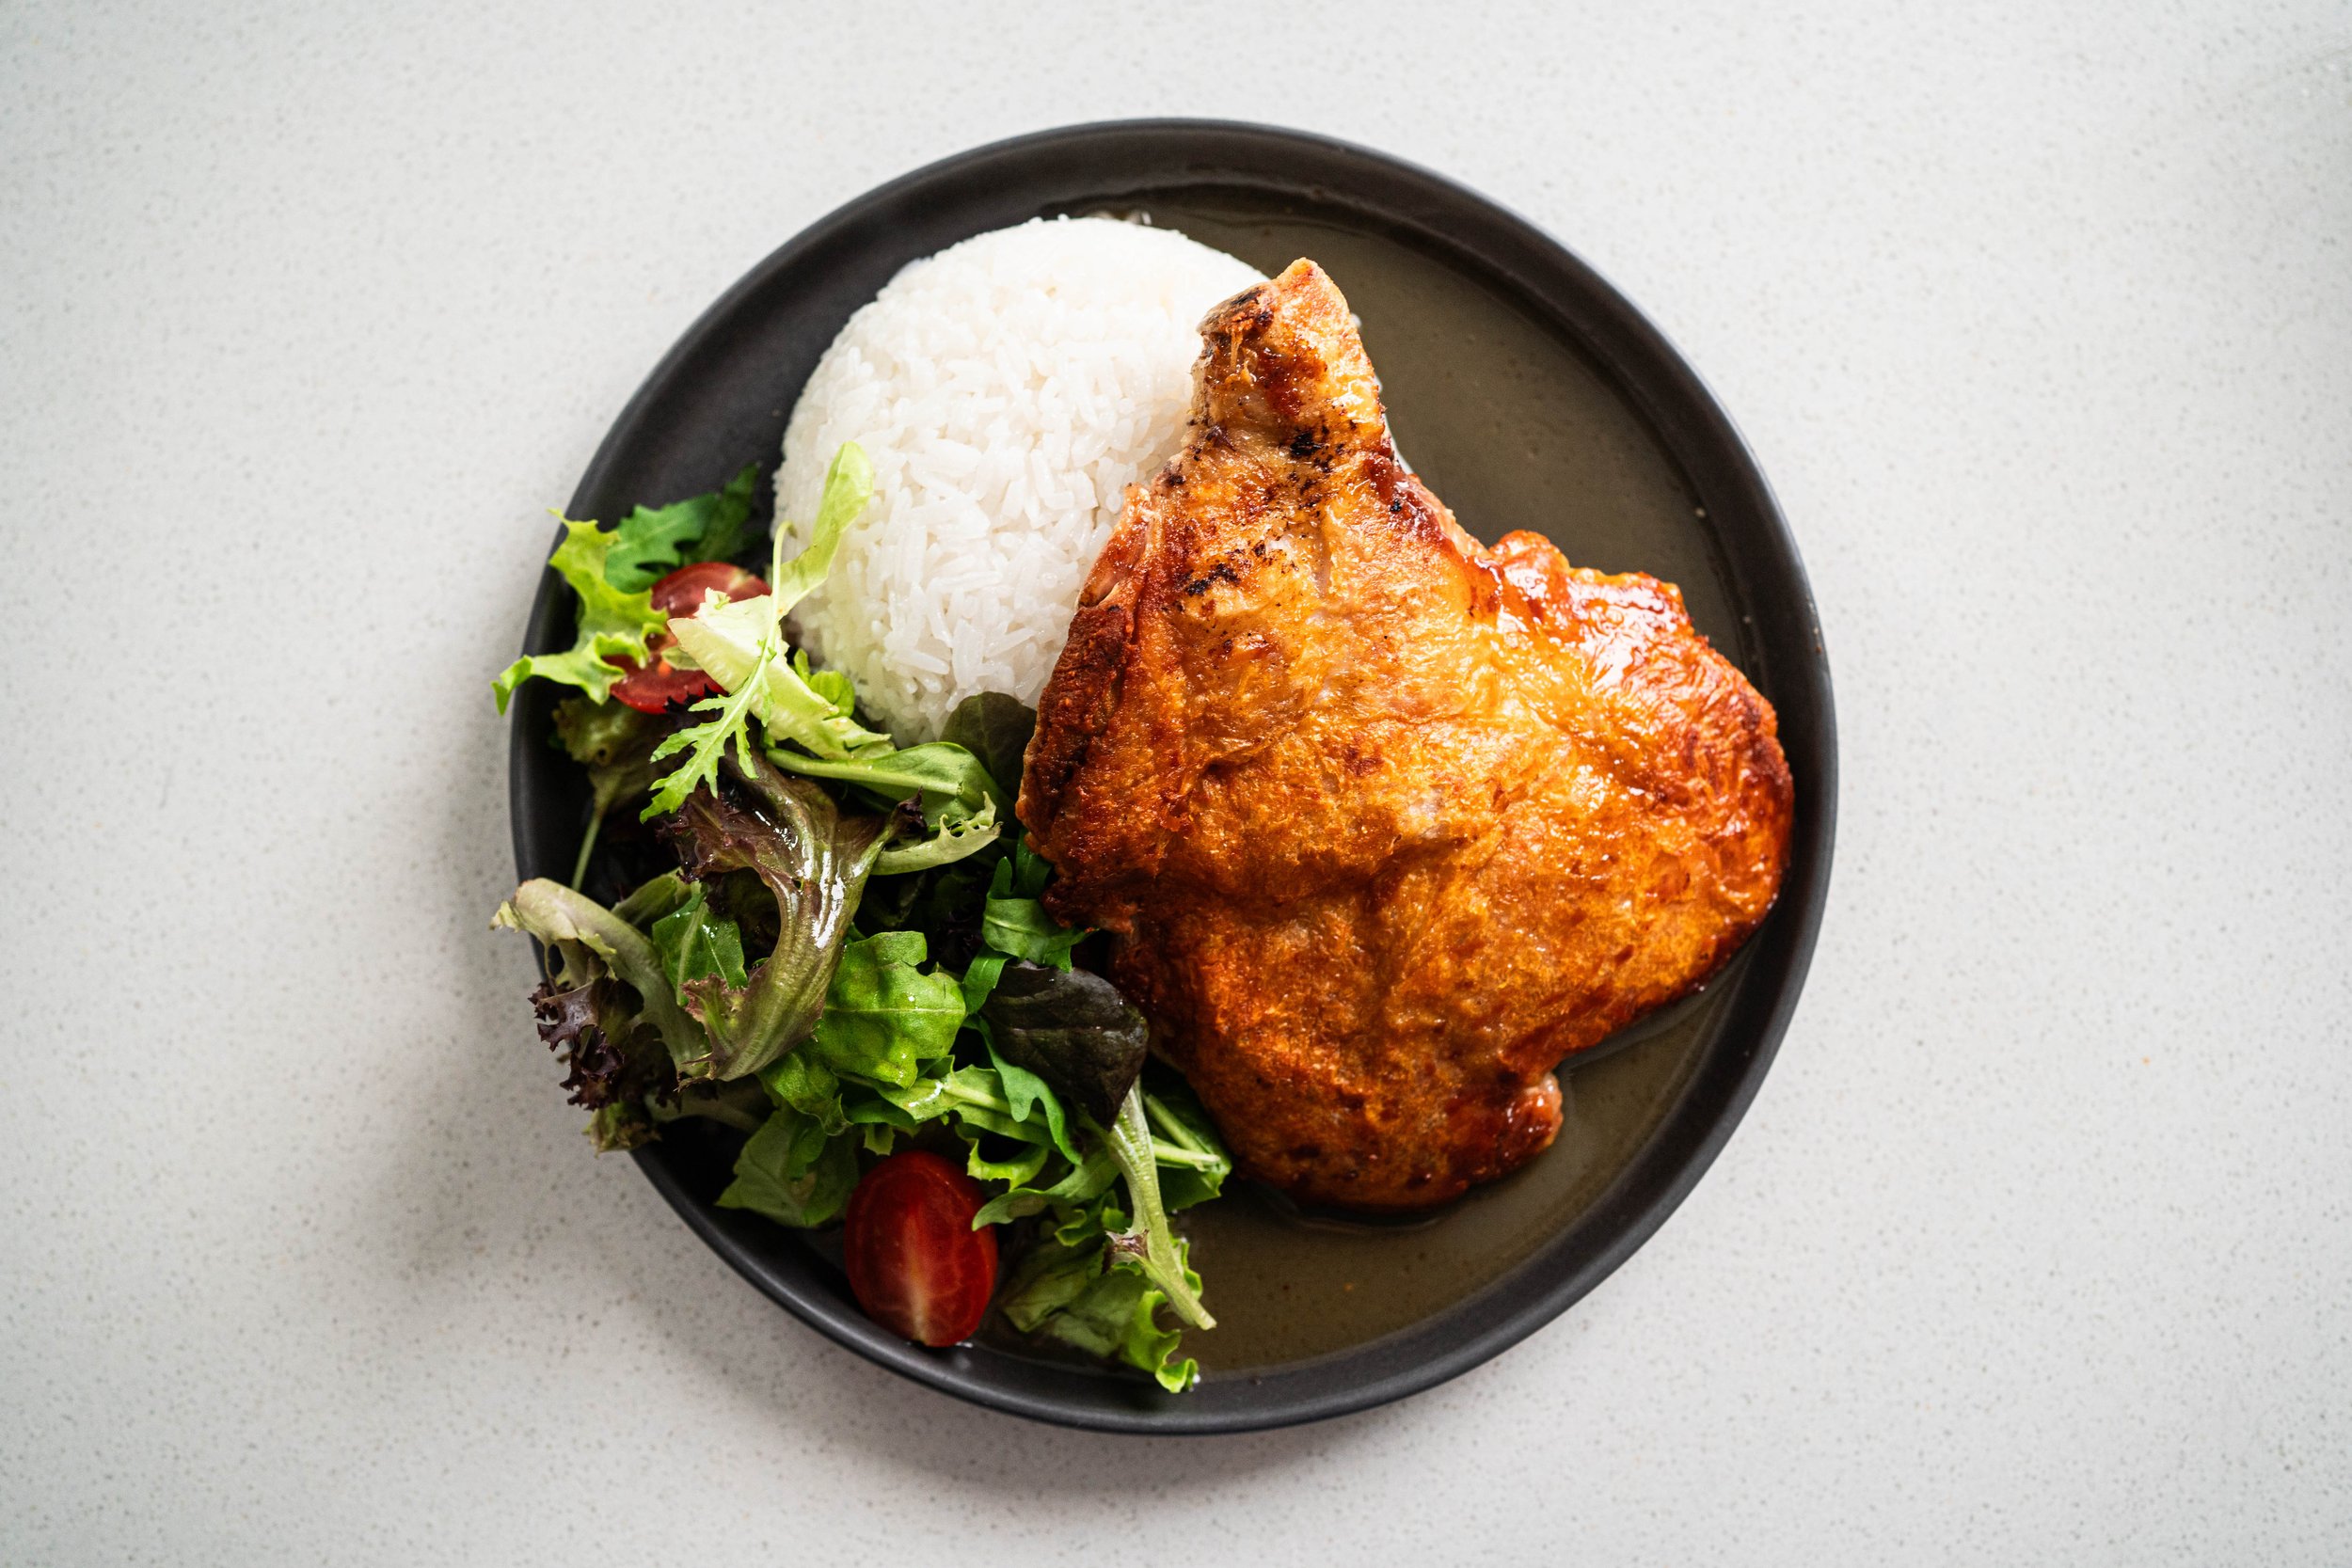
Well, the purpose of the brick is to lend weight to the chicken. So the chicken skin will be pressed right flat on the frying pan throughout the cooking process, giving it more surface area to fry and harden into a gloriously glassy crisp. It’s not a technique I came up with by any stretch of the imagination, as there have been many chefs and food writers who swear by this method to get the crispiest, most shattering skin on any chicken. And it totally works!
In my version, instead of a regular pan sauce, I made it a bit more tangy and zesty, inspired by Chinese takeout style lemon chicken. So after you get that crazy crispy chicken, take it out of the pan, then add some butter, lemon juice, sugar, and chicken stock to it to emulsify into a glossy, savoury sauce with just the right amount of zing. Serve the chicken and sauce together with rice and a simple leafy salad, and it’ll make for a hearty meal that hits the spot in terms of texture and flavour.
Oh! In case you were wondering, no technically you don’t have to use a brick; any heavy, flat-bottomed object like a cast iron pan or weighted plate will do, but it’s always fun to cook with a bit of theater, eh?
Chicken Under a Brick
Serves: 2
Total Cook Time: 30 minutes
Ingredients
2 chicken chops
½ tsp (3g) salt
1 tbsp (15ml) neutral oil
1 brick, wrapped in aluminium foil (for hygiene purposes)
Lemon sauce
1 tbsp (15g) unsalted butter
Juice of 1 lemon (~50ml)
2 tbsp (20g) granulated sugar
¼ tsp (1g) salt
⅓ cup (80ml) chicken stock or water
1 tsp (6g) cornstarch
1 tbsp (15ml) water
Rice & salad, to serve with (optional)
Method
Sprinkle salt all over the chicken chop, and let it marinate in the fridge for at least 10 minutes and up to 2 hours. When the chicken is marinated, take it out of the fridge and pat the skin dry with a paper towel.
Pour the oil into a large frying pan placed over medium heat, then place the chicken flat in the pan, skin-side down. Put the brick on top of the chicken, and give it a firm press to make sure the skin is as flat as possible on the frying pan. Cook the chicken this way for 10-12 minutes on one side, checking the bottom at the end of the cooking time to make sure the skin underneath is completely golden and crispy. If the skin is still limp at this point, you can fry it for another 3-5 minutes. Then, when the skin is sufficiently crispy, remove the brick and flip the chicken, turning it on the flesh side for 2 minutes just to finish off the cooking. When done, take the chicken out of the pan and let it rest on a plate or tray.
To make the pan sauce, in the same pan the chicken was cooked in, add the butter and lemon juice, swirling the pan around to help release the brown bits of chicken skin stuck onto the pan. Put the pan back on medium heat, then add sugar, salt, and chicken stock. Bring this to a boil while stirring it. Then, in a small bowl, whisk together the cornstarch and 1 tbsp of water, and then pour it into the pan as well. Stir to combine until the sauce is thick. Then strain the sauce into a bowl.
The chicken is great on its own with a bit of sauce, and should be eaten quick, lest the skin will turn un-crispy. Also just as an extra suggestion, I love making a meal of it with a scoop of rice and a simple leafy salad.

