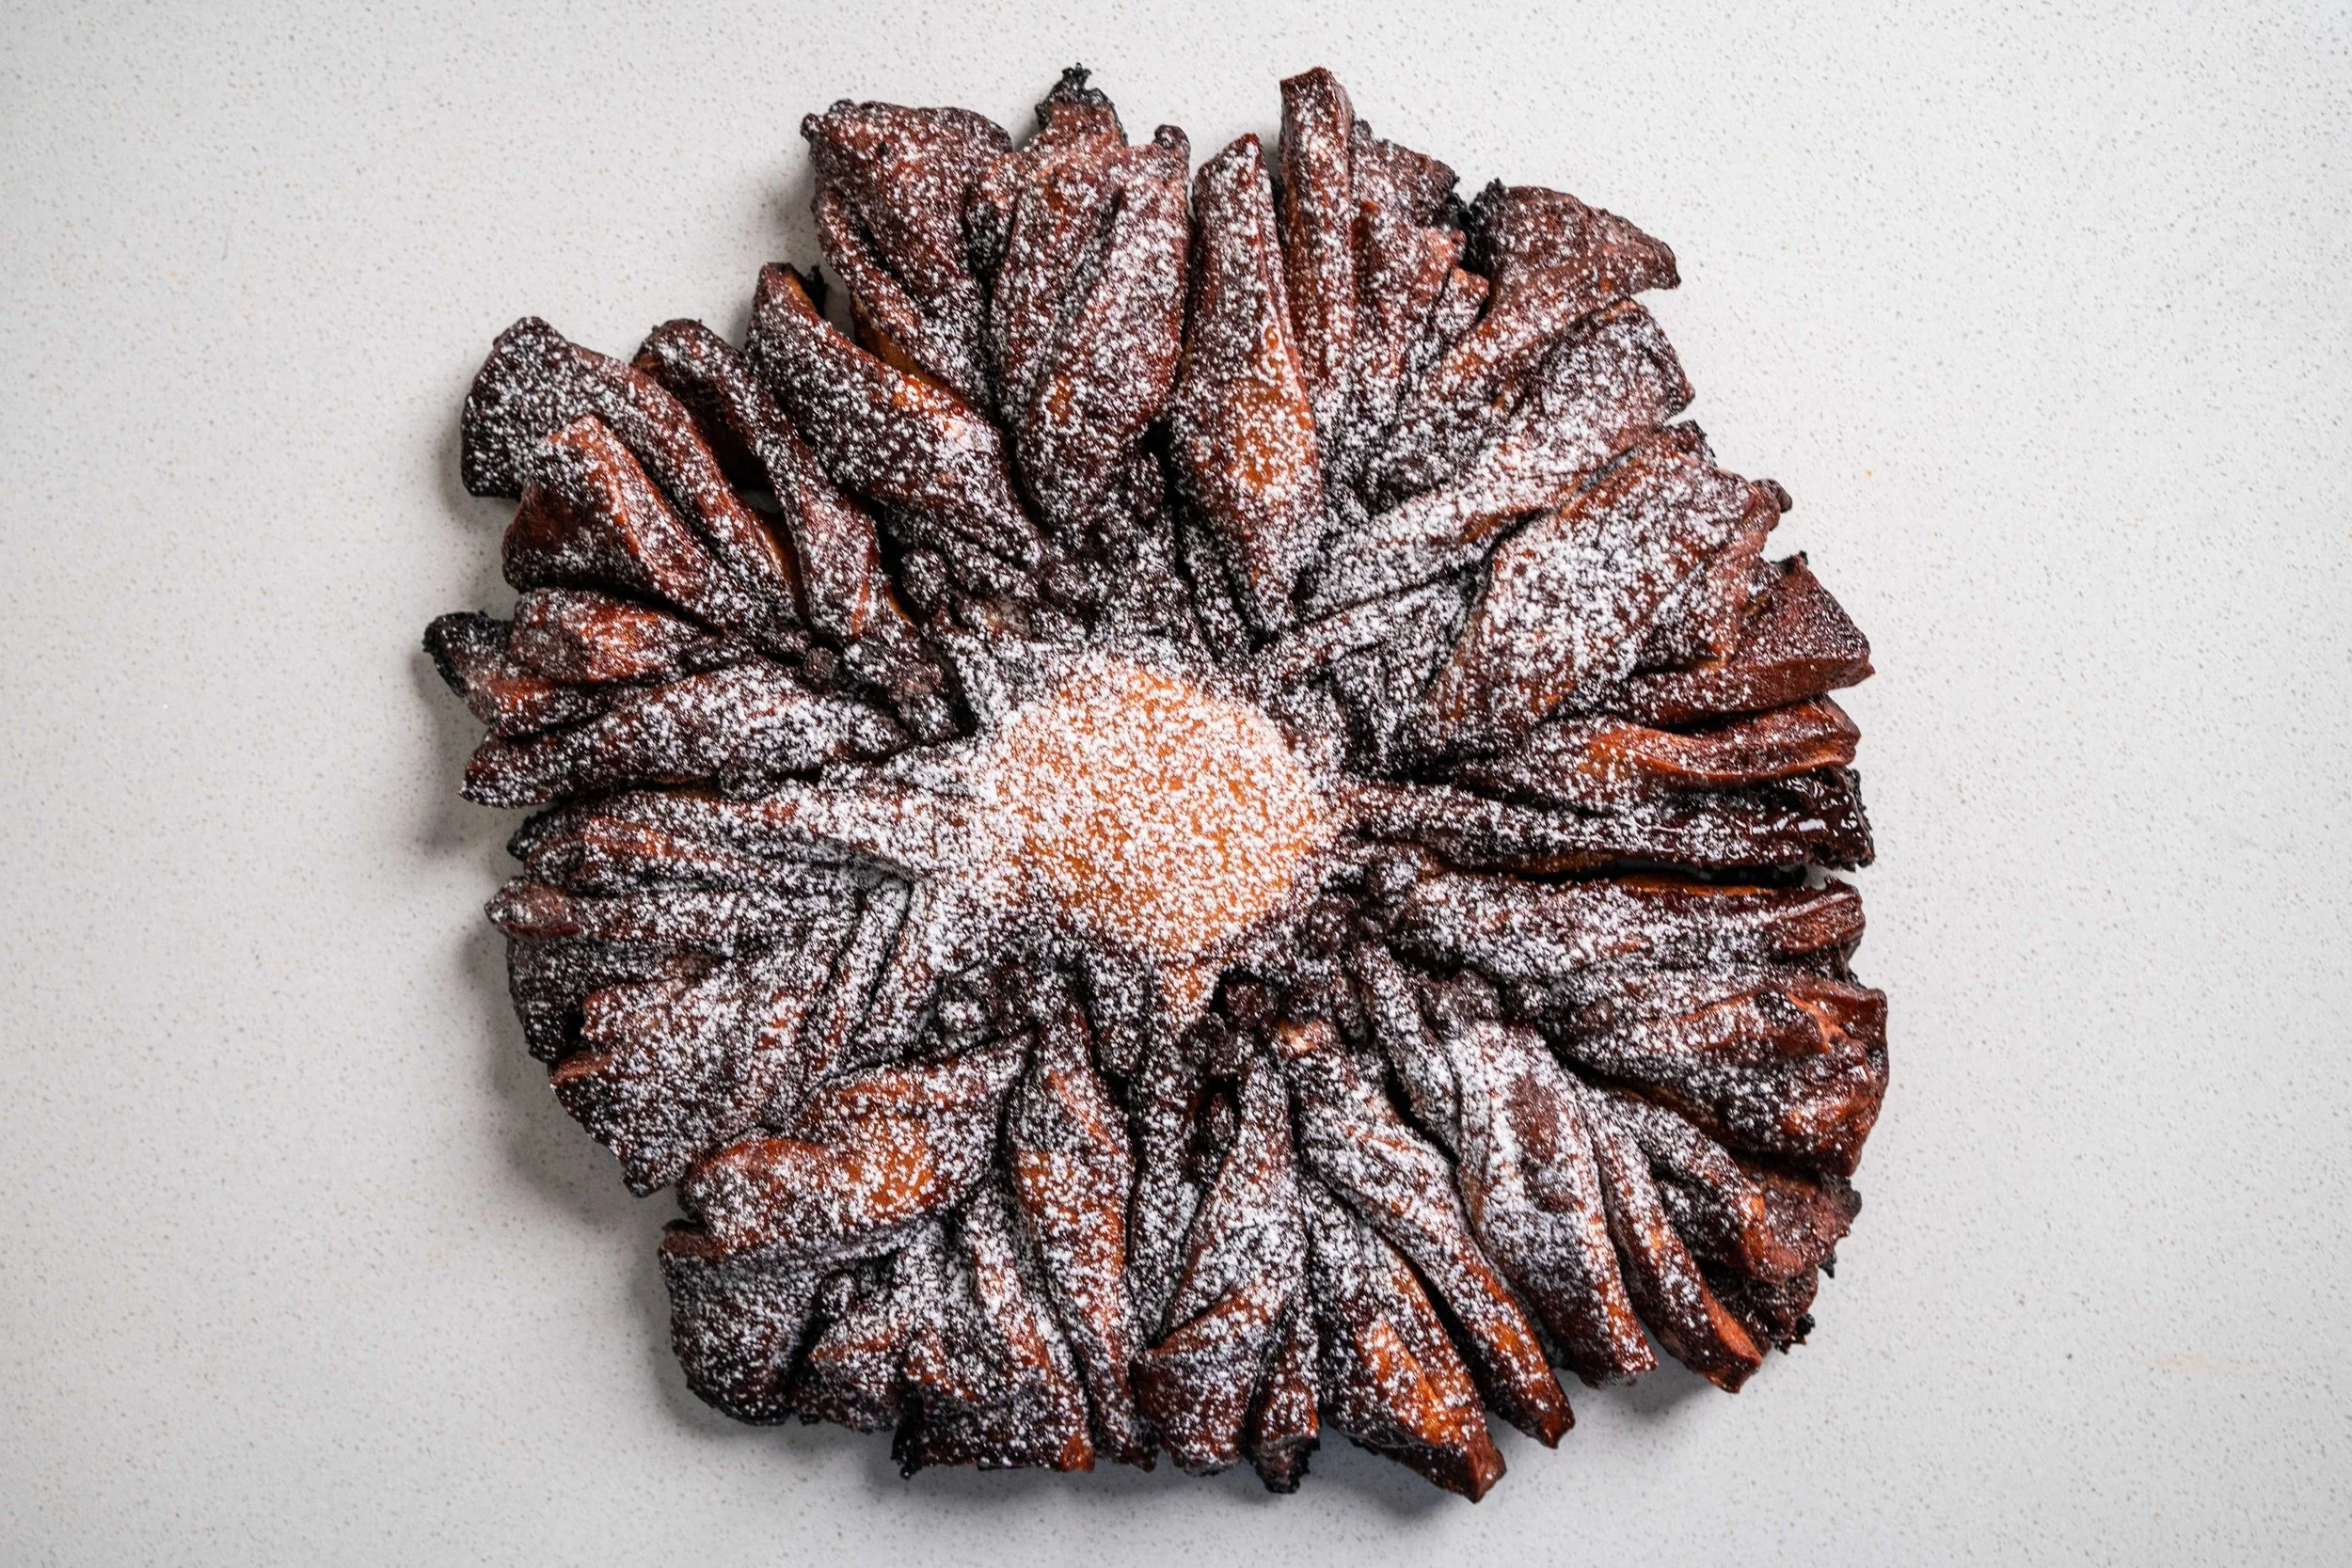
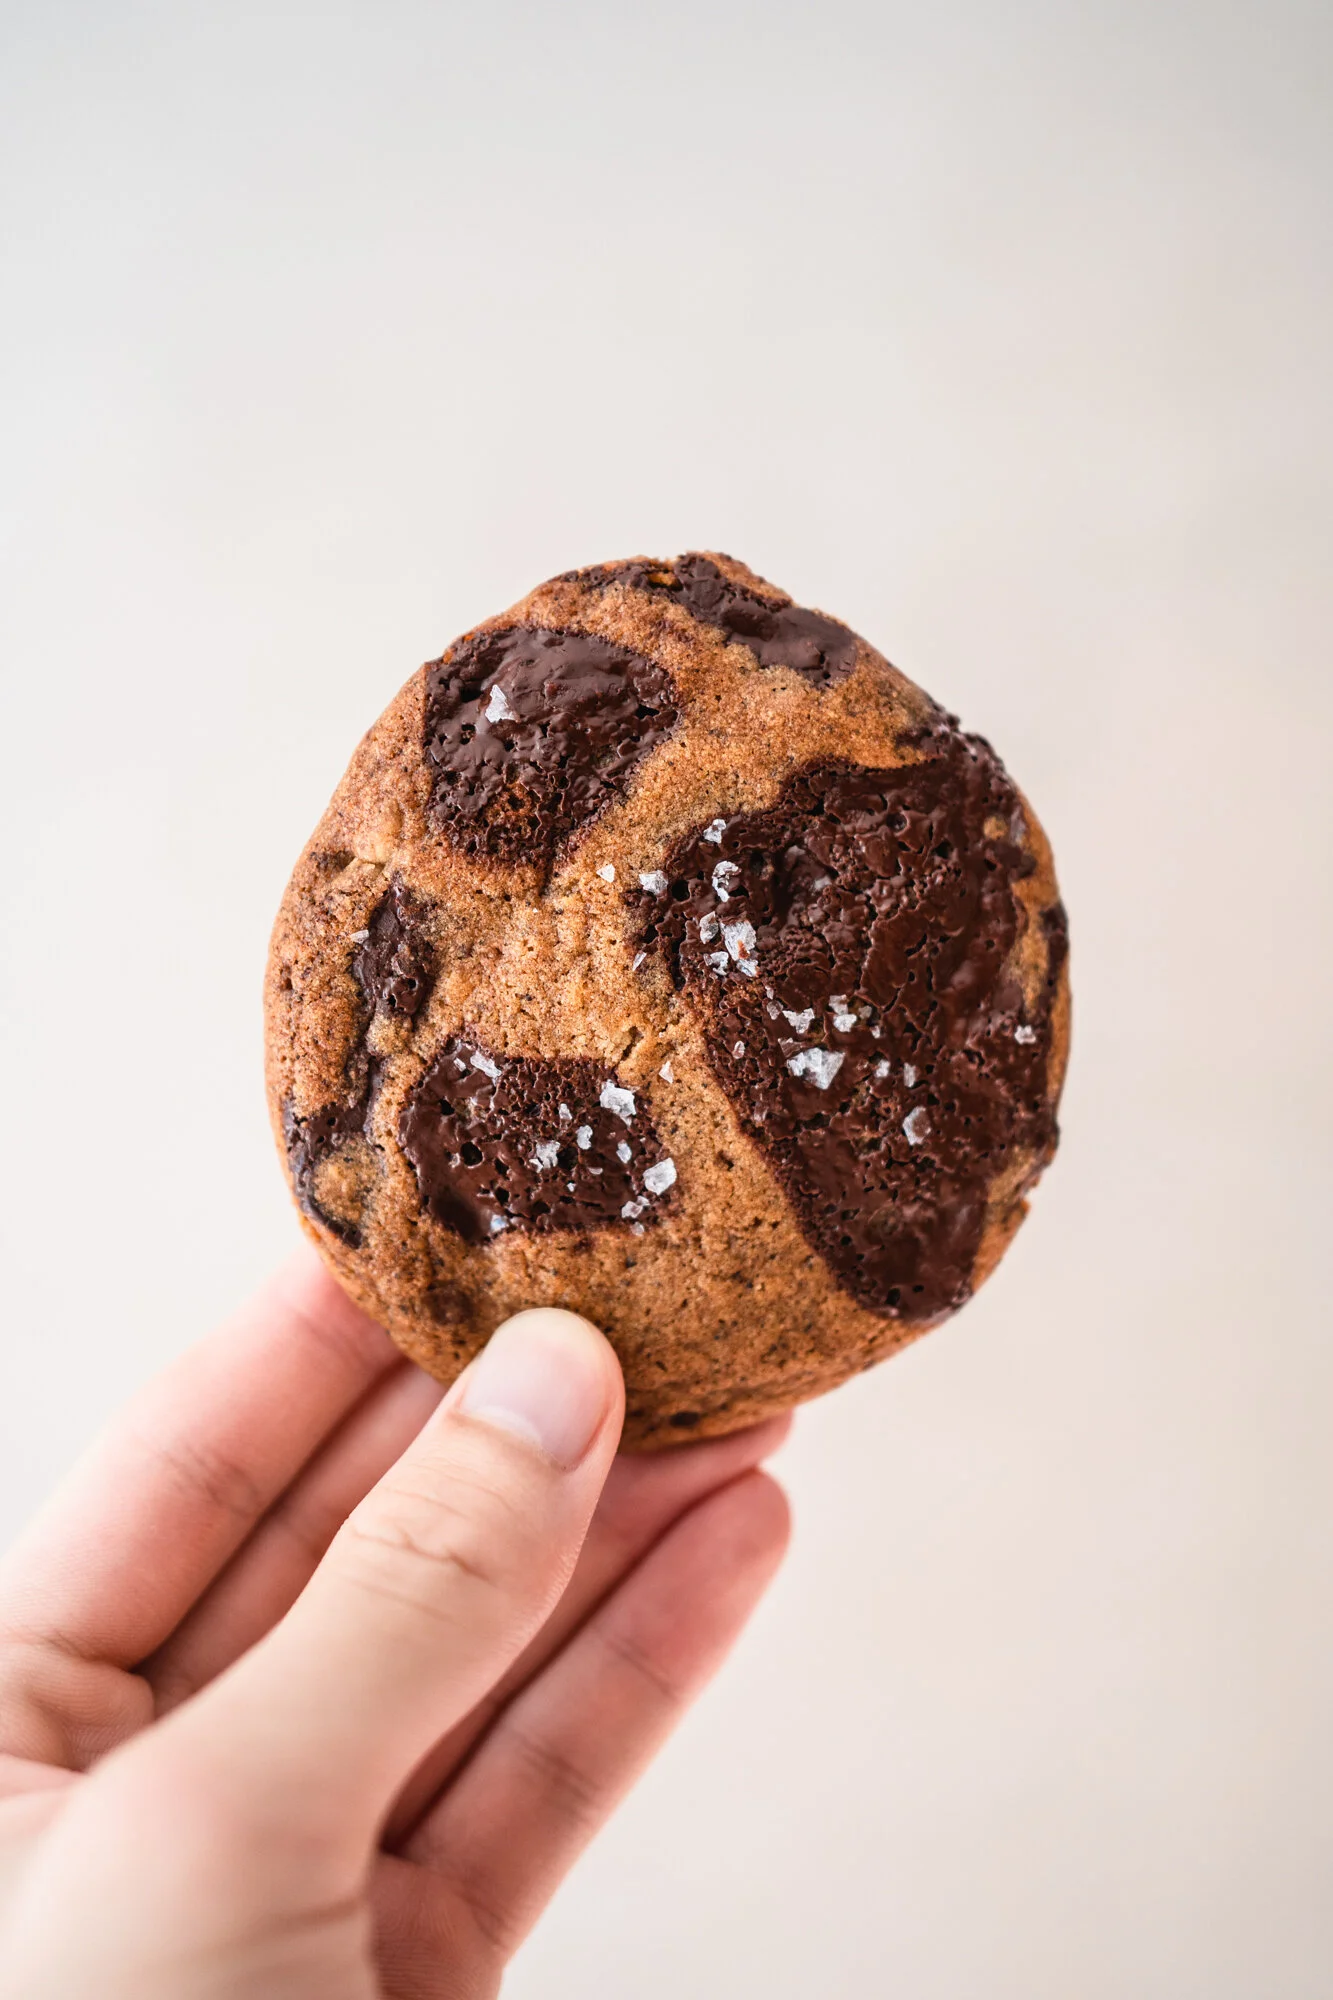
Chocolate Comfort Cookies

Chocolate chip cookies are at the top of the list of foods eaten for comfort. But the name doesn’t quite do it justice. I don’t want mere chips of chocolate in my cookies. I don’t want to hunt for little nibs of cocoa within each bite. I want chunks of chocolate, big pools of it on the craggly cookie surface, gooey and soft. I want every bite of cookie to taste of chocolate, every chew to be cocoa-filled. If anything it’s the chocolate that comforts me more than the cookie. I don’t want chocolate chip cookies, I want chocolate chunk cookies that really comfort me. I want chocolate comfort cookies.
And in the past months, I’ve been obsessively baking batches of chocolate cookies for comfort. I made them for Christmas. I baked them for friends for the New Year, spreading comfort via chocolate. I baked more 2 weeks ago, another dozen yesterday, and stashed a batch of cookie dough in the freezer for emergencies.
What I’ve realised, despite what the internet tells you, is that there’s no perfect chocolate cookie. (This might sound hypocritical considering I published a recipe two weeks ago on the “perfect” siu yuk, though that was true perfection.)
Depending on the mood you’re in, the season of life you’re weathering, your perfect cookie will look very different. If you’re in a lull in life, a more chocolate-dense cookie might bring a little richness to your days. If you’re in a good space at the moment, with enough sweetness happening all around you, a dark, bitter cookie might provide some surprising contrast and make you appreciate the sweetness in life a little more. If you’re feeling a little crazed, a nutty, brown butter chocolate cookie might be the stopgap before you drive yourself up the wall. Or if you’re feeling basic, you might want something simpler, more Famous Amos, more Pepperidge Farm. Despite cookies being the lord of all things sweet, there’s no one chocolate cookie to rule them all.
So this chocolate comfort cookie might not be the “perfect” cookie for all, but it is the perfect one for me, at this time, at this season of my life. There’s a bit of brown butter for nuttiness, a touch of caffeine (via espresso powder) to power me through the day, a few more chunks of chocolate than usual to soothe my soul, a bit of sea salt, and a bit more chew and goo to bring me some tongue-coating, chocolatey calm.
Temporary as the ensuing comfort might be, these are my comfort cookies.
About the Dish
This cookie recipe uses a bunch of tricks and tips from the dozens of cookie recipes I’ve tried in the past 3 years. There’s a bit of pan-banging from Sarah Kieffer’s viral cookies (pan banging = extra surface area = extra caramelisation, and also a chewier cookie), brown butter from Bon Appetit’s recipe, the addition of coffee and nuts from Tasty’s, extra chocolatey-ness courtesy of Jacque Torres, all held together by Serious Eat’s scientifically-backed cookie base. It’s a delirious combination of techniques that perhaps points to the confusing, frayed state of my mind these days, but it brings me comfort, and that’s what a cookie should do.
Cooking Tips
Cookie preferences can be very personal. This is my favourite at the time of writing, and I wouldn’t change a thing about it. But there are some variables that you can toy with in the pursuit of your favourite cookies:
Bake temperature and bake time: I opt for a lower temperature of 160°C (325°F), which gives the cookies a bit more time to spread out before they cook through, but for a more compact cookie, feel free to bake it at 180°C (350°F). Also, for cookies with a crispier edge, bake them for longer. For softer, melt-in-your mouth cookies, bake them for shorter.
Chocolate: The chocolate you’re using matters a lot. My standard is Valrhona Guanaja, but there’s something to be said about using chunks of god quality ‘baking chocolate’ that are made to melt at a specific temperature, making it incredibly gooey.
Garnishes: Adding chocolate on top right before baking helps you form those gorgeous pools of chocolate. And a smidge of sea salt post-baking adds a savory dimension to them. Again, both are totally optional, just go with your heart.


Chocolate Comfort Cookies
Makes 20 cookies
Ingredients
170g (3/4 cup) unsalted butter
20g ice, which should be 2 ice cubes
200g (1½ cup) all-purpose flour
4g (1 teaspoon) salt
3g (3/4 teaspoon) baking soda
80g (4 tablespoons) sugar, caster or granulated both works
100g (1/2 cup) dark brown sugar
4g (1 teaspoon) espresso powder
1 egg
1 egg yolk
5ml (1 teaspoon) vanilla extract
200g (7 oz.) chocolate, roughly chopped into chunks no larger than 2cm (3/4 inch) wide
50g almonds or pecans, roasted and roughly chopped, optional
4g (1 teaspoon) flaky sea salt, for garnishing
Directions
Make brown butter: Place the butter in a small pot or saucepan set over medium heat. The butter will start to melt and bubble. Let it cook for 3-5 minutes, until it turns golden brown and a nutty aroma wafts up, swirling the butter in the pot regularly to make sure it doesn’t burn. (You might notice brown bits stuck to the bottom of the pan. This is perfectly normal, just make sure they don’t turn black!) When done, pour the brown butter through a fine sieve to strain out any potentially burnt bits, then add the ice cubes into the strained liquid to cool it down. Set the brown butter aside for 15-20 minutes to cool to room temperature. You could also hasten the process by chilling it in the refrigerator for 10-15 minutes.
Make cookie dough: In a bowl, sift the all-purpose flour, salt, and baking soda together. Then, in the bowl of a stand mixer, add the brown butter, sugar, brown sugar, and espresso powder, and whisk it on high speed for 2 minutes, until it turns slightly pale and fluffy, and falls off the whisk in slow ribbons. (It won’t quite double or triple in volume like regular creamed butter, but should still turn thicker and two shades paler.) Then, add in the egg, egg yolk, and vanilla extract, and whisk it on high for an additional minute until smooth. Next, add in half the dry ingredients, and give it a brief 10-15 second mix in the mixer. Then, fold in the rest of the dry ingredients with a spatula, until no streaks of flour remain. (It will become much more solid and doughy at this point so it’s best to mix it manually with a spatula as opposed to whisking it in the mixer.) Finally, add in 160g of the chocolate, reserving the remaining to garnish the cookies right before baking.
Chill dough: When the cookie dough is done, use an ice cream scoop (or your hands) to portion the dough into 40g (1 oz) balls, and fit them snugly on a tray. If the dough is too soft at this point, chill it in the refrigerator for 30-60 minutes before portioning. When portioned, keep the dough balls in the refrigerator for at least 6 hours and up to 3 days. The doughs can also be frozen at this point to keep for longer. (I keep a dozen in my freezer in case of emergencies.)
Heat oven: On the day you’re ready to bake, heat the oven to 160°C (325°F). Then, line a baking tray with baking paper or with a silicon mat.
Bake the cookies: Remove your cookie dough from the fridge, and place around 6-8 cookies on the lined baking tray, depending on the size of the baking tray. Make sure there’s at least 2-inches of space between each dough ball. Press 1-2 chunks of the chocolate reserved from before into each cookie dough. Bake the cookies for 8 minutes, then take the tray out of the oven and give it a good pan banging (raise the tray around 5 inches into the air and slam it down onto your countertop, and repeat 5-10 times; this flattens the cookies slightly and adds to their chewiness), then return the cookies to the oven and bake them for an additional 6-8 minutes, or until the sides are nice and crinkly and the cookies are a deep brown.
Cool the cookies: When the cookies are done, remove them from the oven and sprinkle a bit of flaky sea salt on top while they are still hot. Let the cookies cool on the tray for 3-5 minutes, and once they’re pick-up-able, gently transfer them onto a wire rack to cool completely. Repeat the whole baking process for the rest of the cookie dough.
Eat!: The cookies keep well for 3-5 days in an airtight container. But whenever you’re having it, eat them with all your heart, and rejoice.
More Fun Recipes!