Easy Dorayaki
Dorayaki is a Japanese pancake-like dessert, made with flour, eggs, sugar—all the typical ingredients of the classic pancake—then filled with red bean paste in between. But like many Japanese versions of things, it’s just better. Let’s go through the why and how!
(If you’re just here for the recipe though, feel free to scroll to the end of the post!)
Dorayakis Are Better Pancakes
Dorayakis are essentially anime pancakes. Which is to say, like most food items in anime, they’re like the perfect version of a pancake, at least aesthetically.
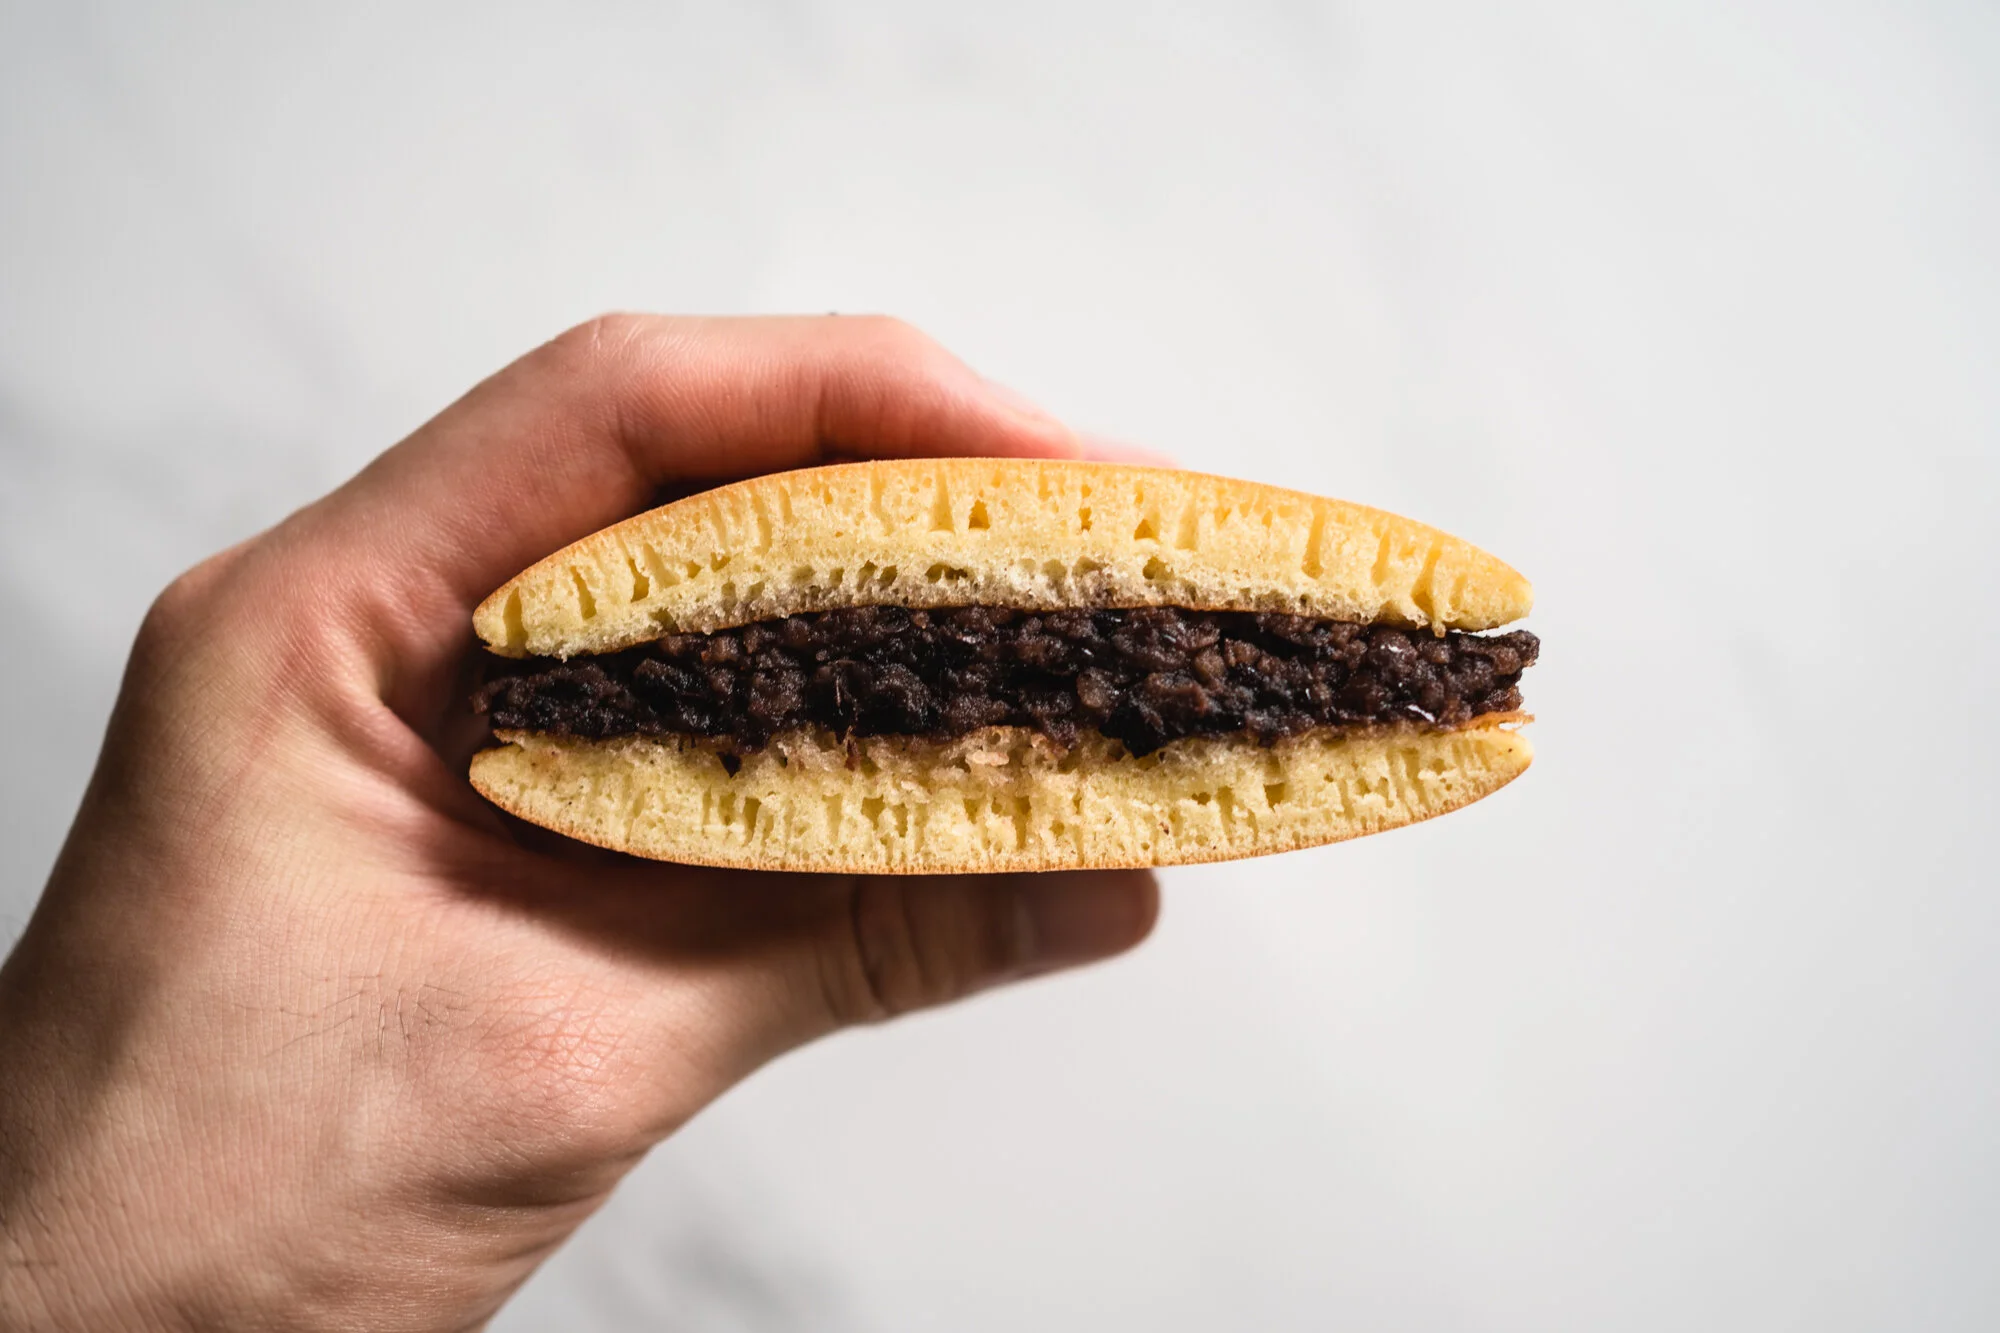
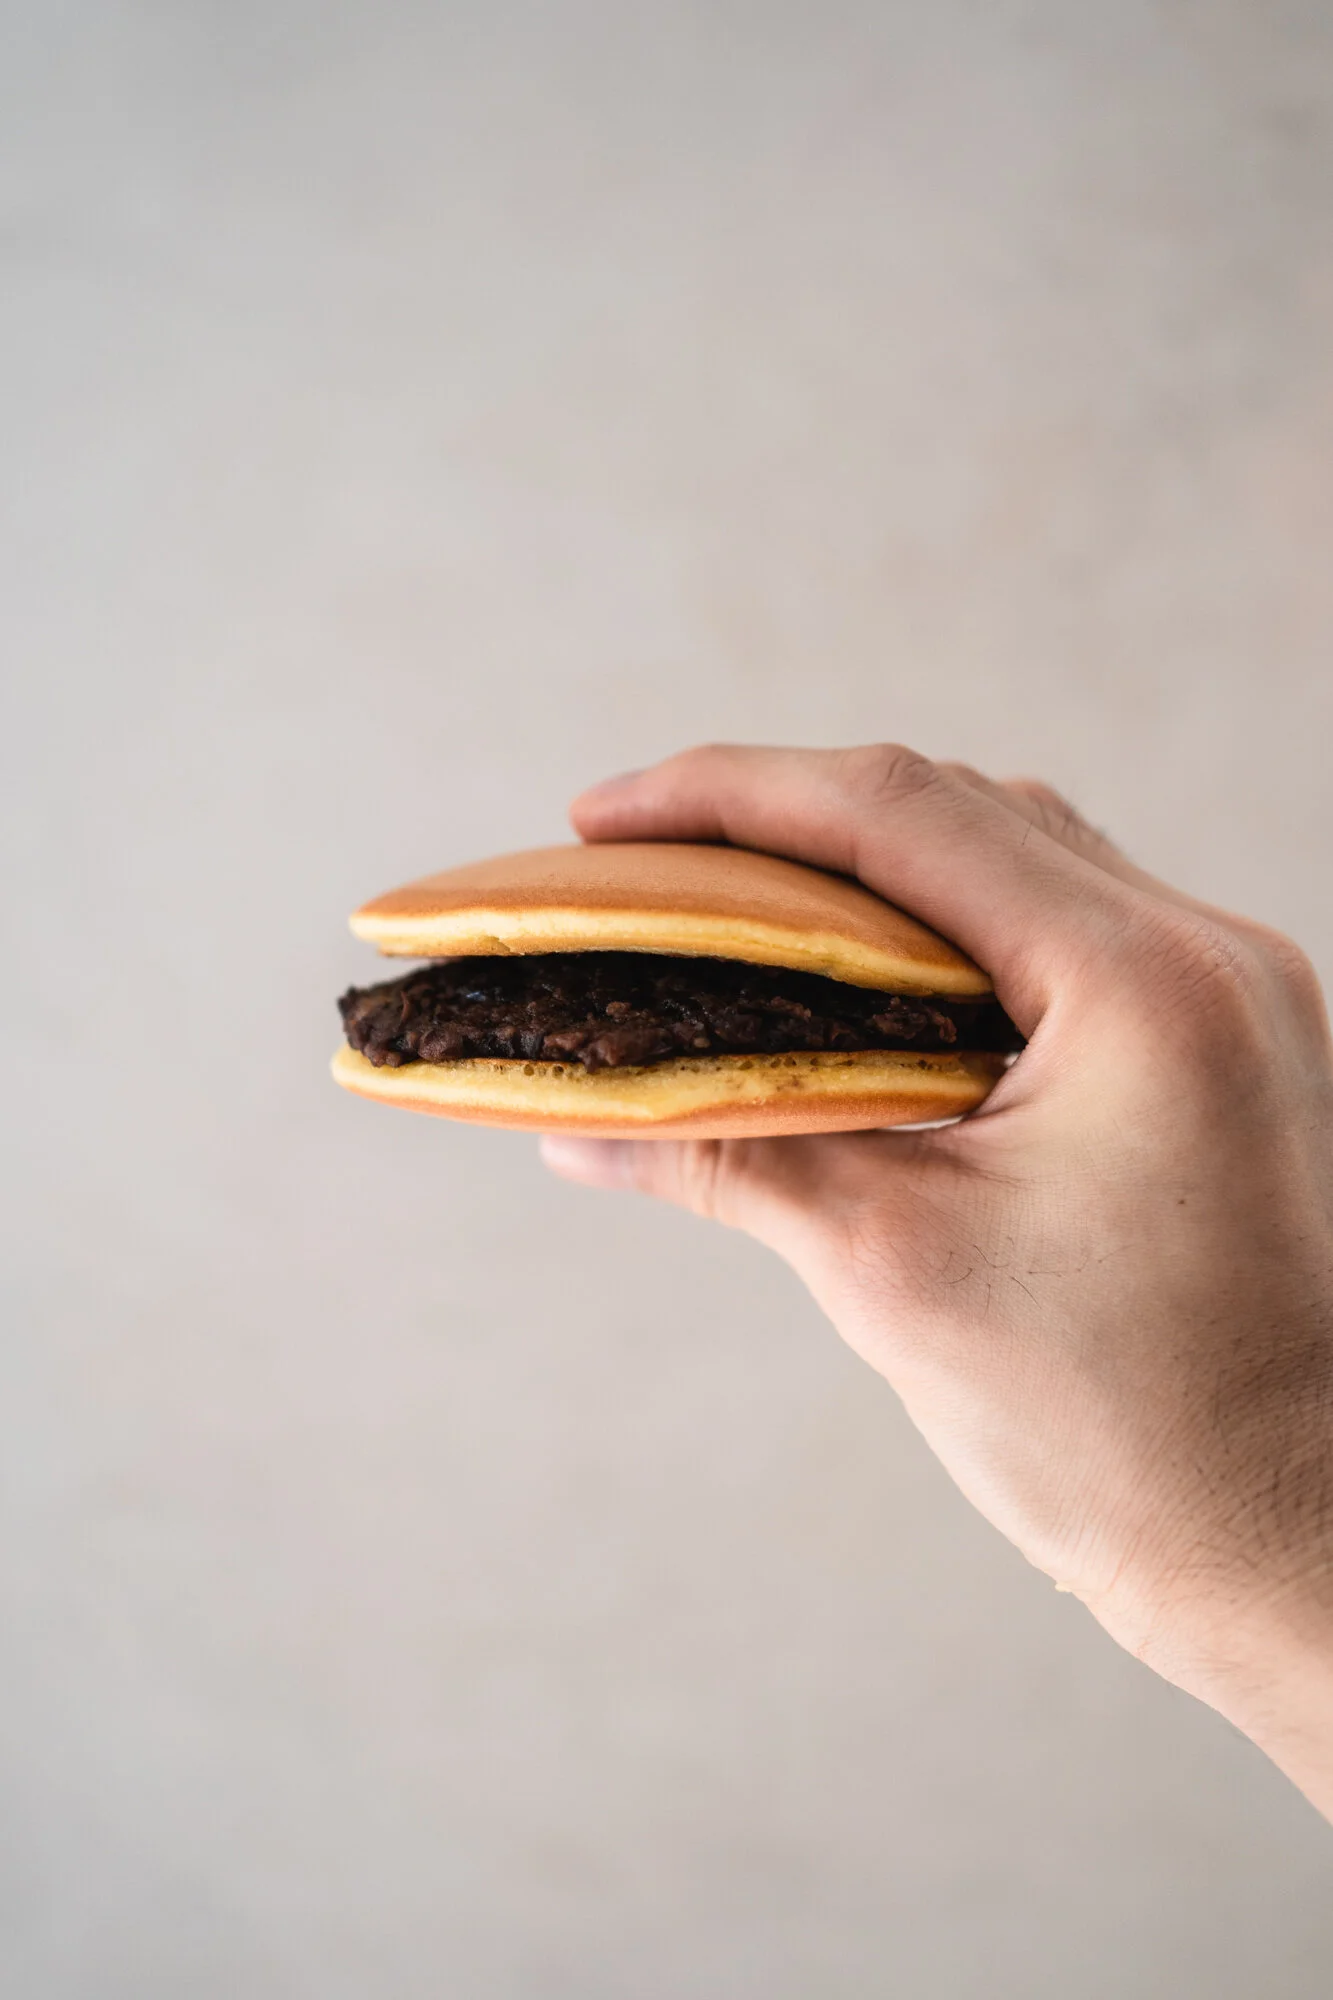
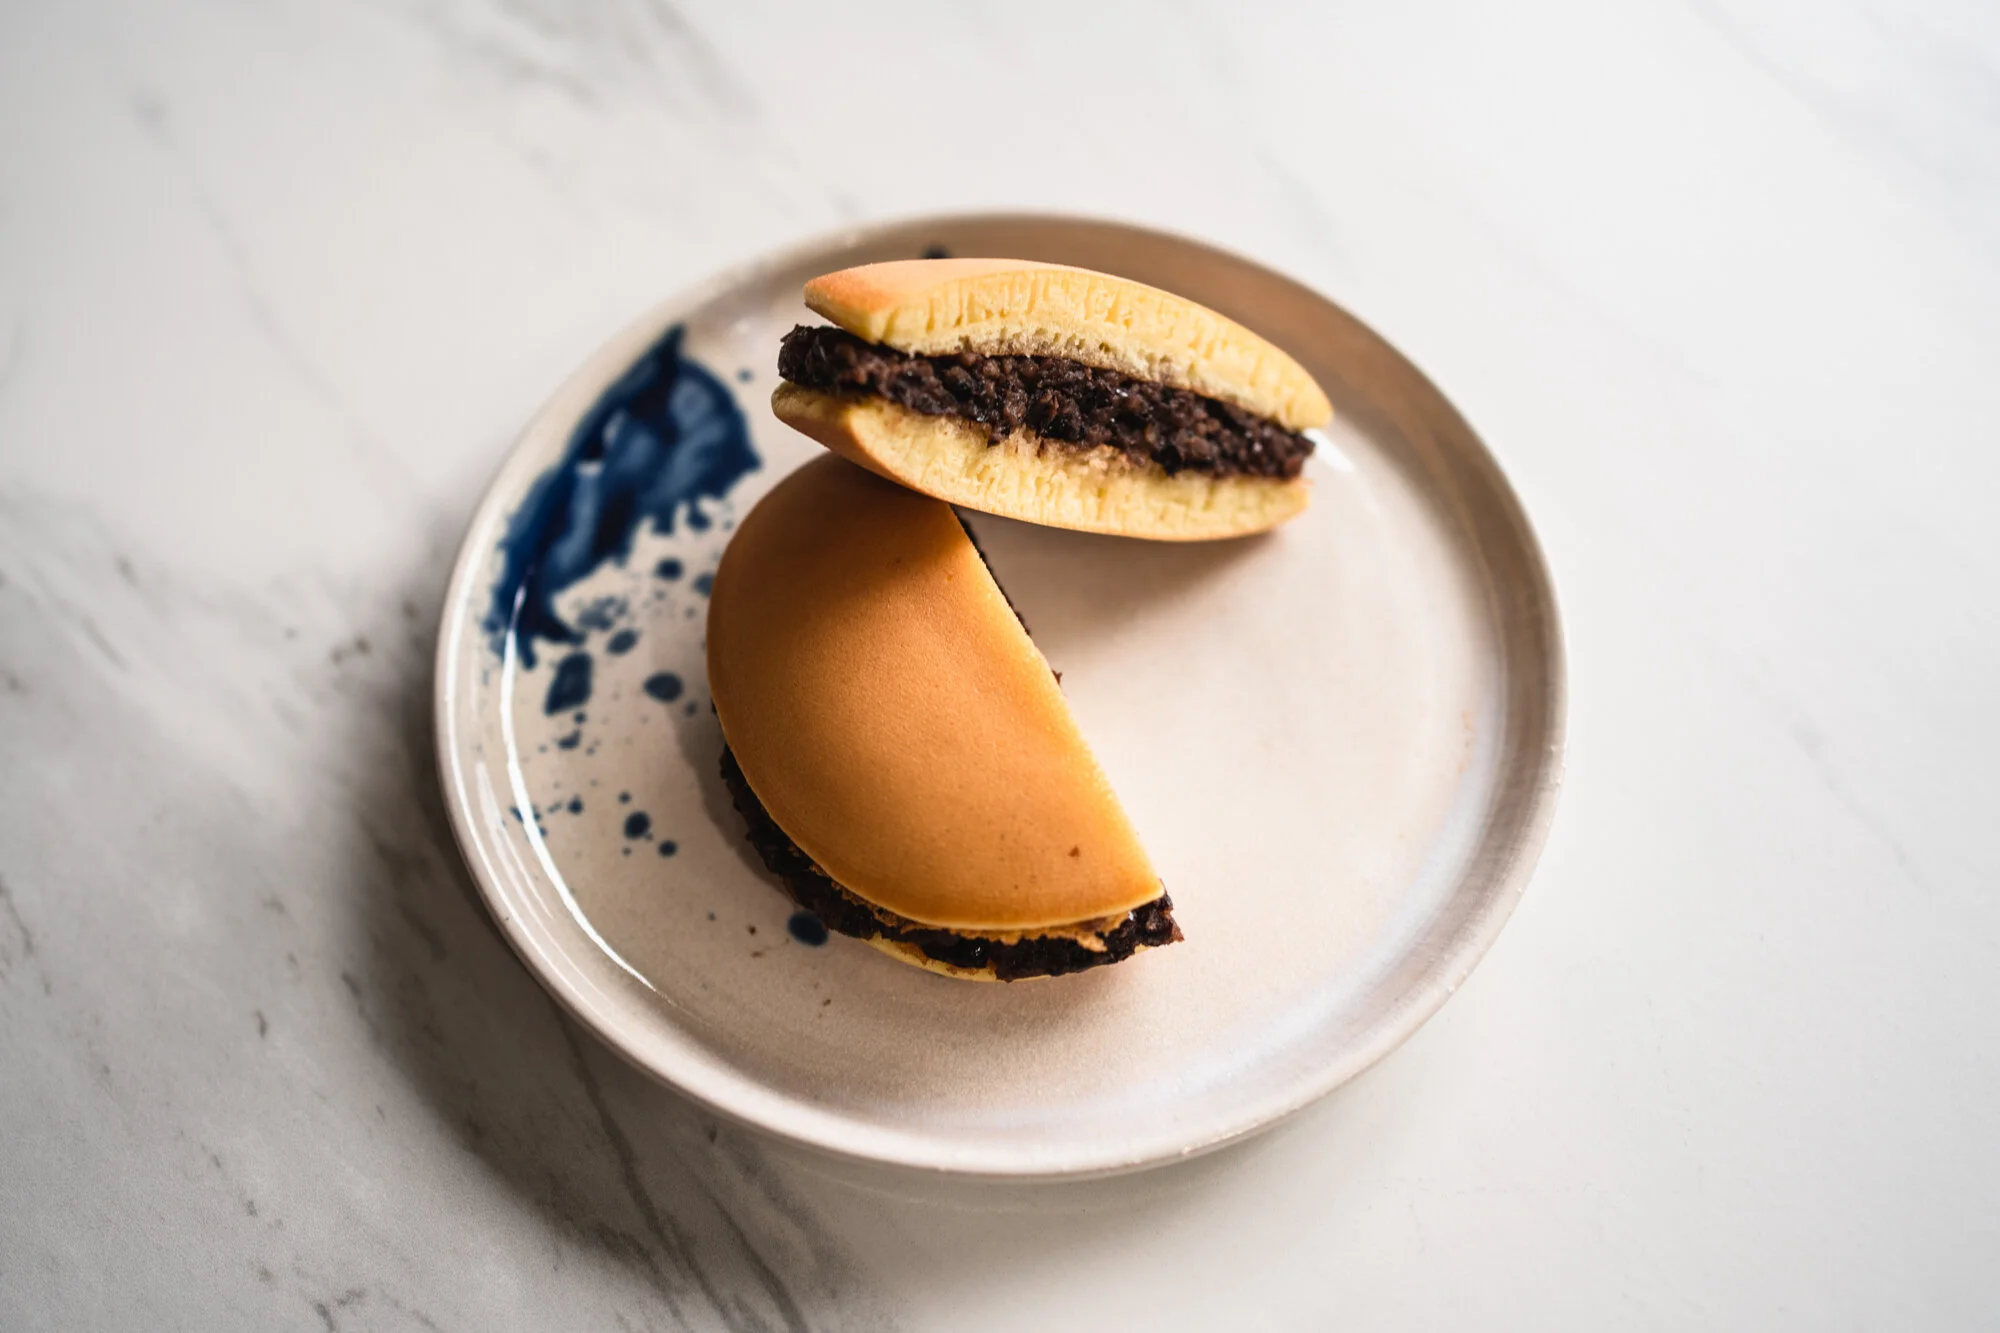
While most pancakes will have splotches and shades of brown based on the hotspots of your pan, dorayakis are evenly browned all across its top side. While the underside of pancakes (the side that’s cooked second after you’ve flipped it) is often a little scuffed, dorayakis smartly hide that fact by smooshing two pancakes together with red bean paste (anko) binding the two halves together, keeping the uglier side hidden. And so, dorayakis end up more even-toned, ethereal, and pleasing to the eye than the typical American breakfast pancake.


But another reason why I’m calling dorayakis anime pancakes is because my first encounter with the dessert is actually from an anime!
If you’re an Asian who grew up in the 90s, chances are you’ll known exactly what I’m referring to, because dorayakis are the guilty pleasure of a certain white-and-blue anime robot-cat—Doraemon!
Doraemon was the choice children’s show of many TV channels in the 80s and 90s. With over 1,700 anime episodes and even more chapters of manga, it’s a cartoon cult classic that has spread across much of Asia in its heyday. When I was a kid, I would come home to sounds of the TV playing “An an an, tottemo daisuki Dora-e-mon!”. I’d spend hours in the comic section of the MPH bookstore following Doraemon and his friends on their hijinks, traversing space-time in time machines and dimension-crossing doors, getting annoyed at Nobita when he gets the whole gang into trouble, and tutting at Doraemon’s dorayaki gluttony.
But for all the 2D dorayaki I’ve seen on episodes of Doraemon, I’ve never ventured to make one. Clearly, that all changed with the writing of this recipe.
Making Dorayakis Different
Now, I have to disclaim, with this blog being about making unexpected things, I did attempt to make a different sort of dorayaki. I tried a matcha and hojicha version, and even made one filled with mayo and pork floss instead of red bean paste. And even in the anime, Dora the Kid (one of Doraemon’s relatives) shows his preference for ketchup-dipped dorayakis. But while those were good—not the ketchup one, unfortunately—I know deep down that Doraemon would never pick those over a classic dorayaki. (Still, I might post those renegade recipes at a later date.) So, let me show you how to make a classic dorayaki!
How to Make A Great Dorayaki
To make Doraemon-approved dorayakis, here are some tips:
For the red bean, it’s best to soak it for at least 12 hours, up to 48 hours. If you forget to soak it, or if you’re simply short on time, it’s best to cook it in a pressure cooker or Instapot, otherwise a
Let the batter rest. This is important as it allows the flour to completely hydrate and will give you a more supple, smooshier dorayaki.
It’s best to cook the dorayaki in a non-stick pan, for non-stick reasons.
Be patient when you cook the dorayaki. Start with the lowest heat, and cook it for about 2 minutes, until you see bubbles start to form around the sides of the dorayaki, before flipping it.
When each piece of dorayaki is cooked in the pan, let it cool on a wire rack with the uglier side down, so you keep the outer side pristine as you sandwich two together.


Easy Dorayaki
Makes 5
Ingredients
Anko (red bean paste)
100g (1 cup) red bean, soaked overnight
50g (1/4 cup) caster or granulated sugar
4 eggs
110g (1/2 cup) caster or granulated sugar
140g (1 cup + 1 tablespoon) all-purpose flour
5g (1 teaspoon) baking powder
4g (1 teaspoon) salt
Directions
Make anko: Put the red bean in a small pot or saucepan, and cover with water until there’s at least 2cm of water on top of the beans. Put this over high heat, and once it comes to a boil, discard the water, keeping the beans. Then, add a new pour of water into the pot, again to a level at least 2cm above the beans. Bring the water to a simmer, and turn the heat down to low, letting the red bean cook for 60-90 minutes, until soft. To check when the red bean is done, take a bean out of the pot, let it cool a little, and squish it in between your fingers. It’s done when it squishes easily into a paste. When the red beans are completely cooked, discard any excess water in the pot, and give it a mash with a potato masher or a fork. Then, while the beans are still warm, add the sugar and stir it all together until the sugar melts, and transfer into a container. Let the anko cool down to room temperature. The anko can be used immediately, but it can also be kept in the refrigerator for up to a week.
Make dorayaki batter: Beat the eggs and sugar in a bowl. Then, sift the all-purpose flour and baking powder into the same bowl, and whisk them all together until a smooth batter forms. Let this batter rest at room temperature for at least 15 minutes. (Or feel free to keep it in the fridge overnight too, up to 24 hours.)
Cook dorayaki: Place a non-stick pan over low heat. Then, pour one ladle (approx. 50g) of dorayaki batter into the middle of the pan. Let it cook gently for 1-2 minutes. You’ll start to see bubbles forming on the top of the batter, starting from the sides, and then towards the center as well. When you see the side bubbles start to pop, that’s when you should flip the dorayaki. Cook the other side of the dorayaki for a further 45 seconds to a minute, then remove it from the pan, onto a wire rack to cool down. (Place the uglier side down on the wire rack.) Repeat until you’re out of dorayaki batter; you should end up with 10-12 pieces this way.
Put it all together: Once all your dorayaki pieces and anko have cooled to room temperature, it’s time to form the dorayaki itself! Place two tablespoons (30g) of anko onto the uglier side of a piece of dorayaki, and spread it around with a spatula, leaving a small mound in the middle. Then, take another piece of dorayaki and place it on top of the anko, essentially sandwiching the anko between two halves. You can eat the dorayaki immediately, or if you want a tighter structure, you can wrap the whole thing in plastic wrap, and stick it in the refrigerator to firm up too. Either way, the dorayaki keeps well for up to 3 days.
More Fun Recipes!